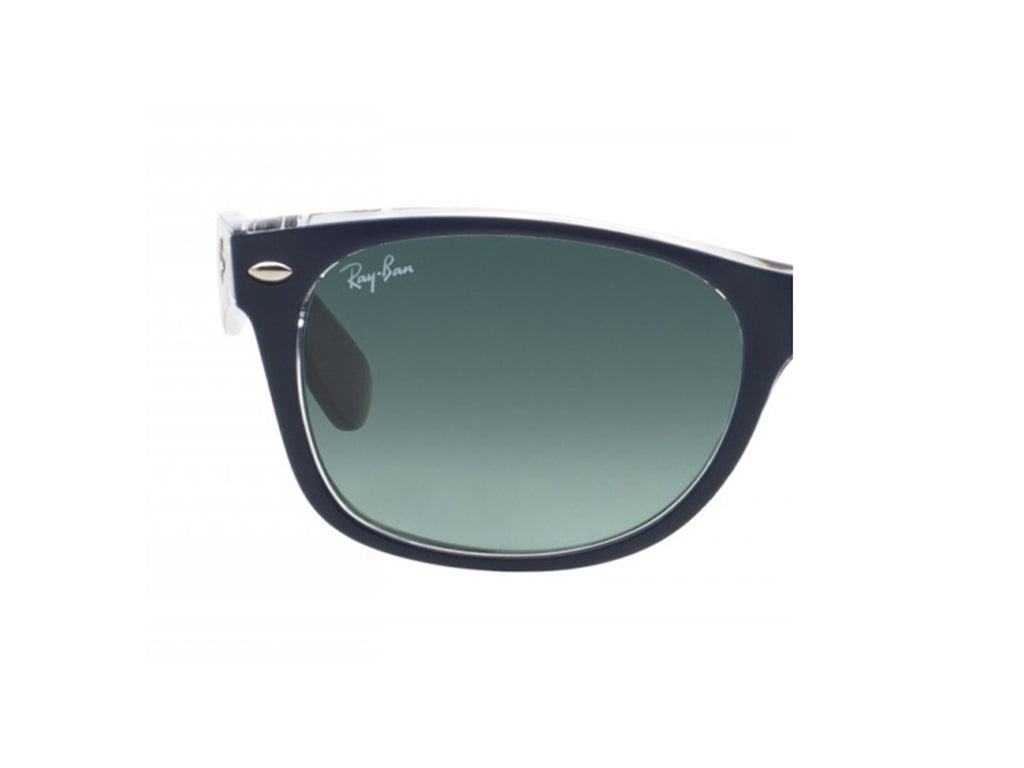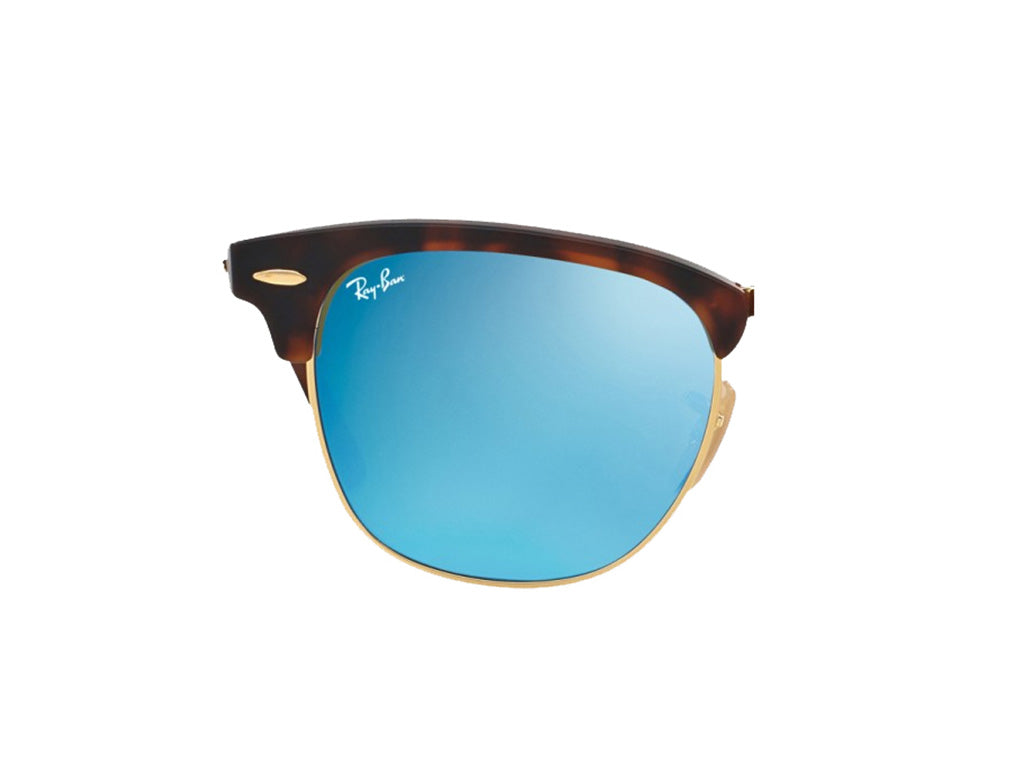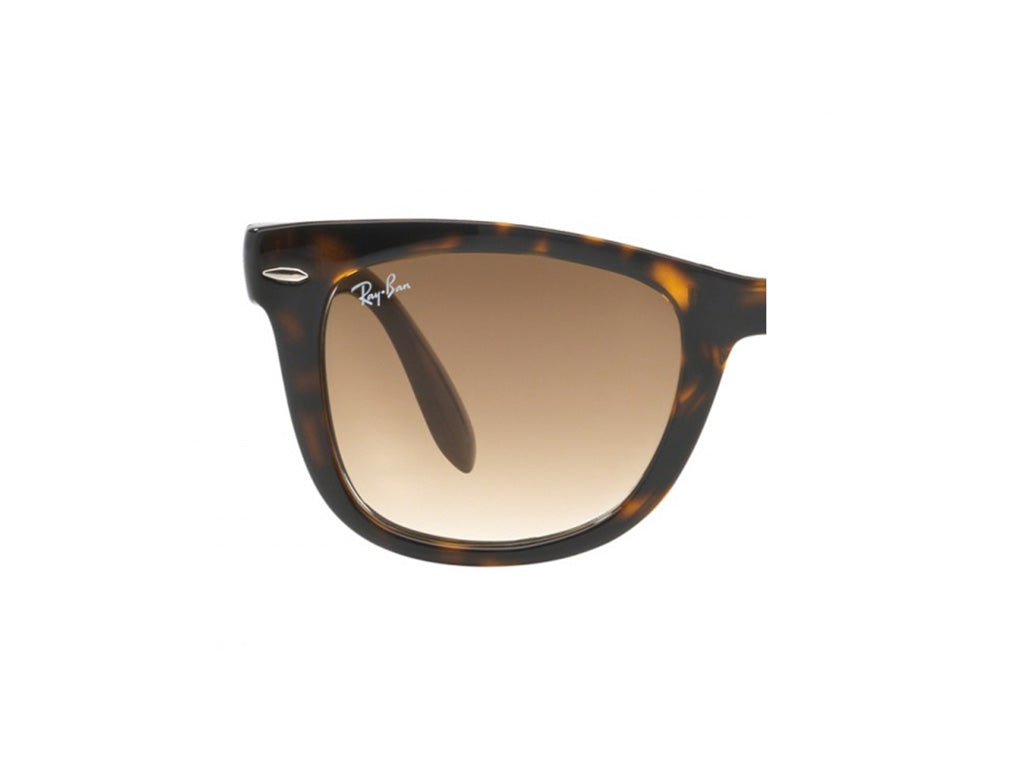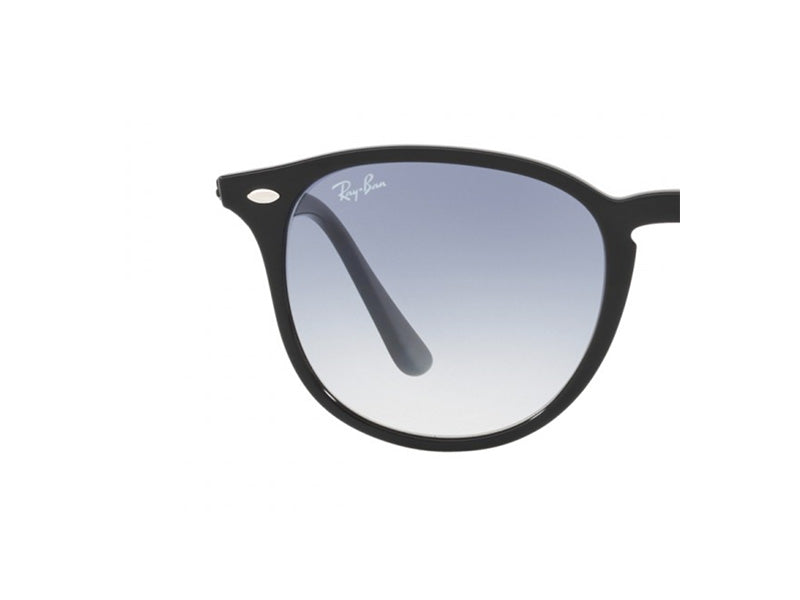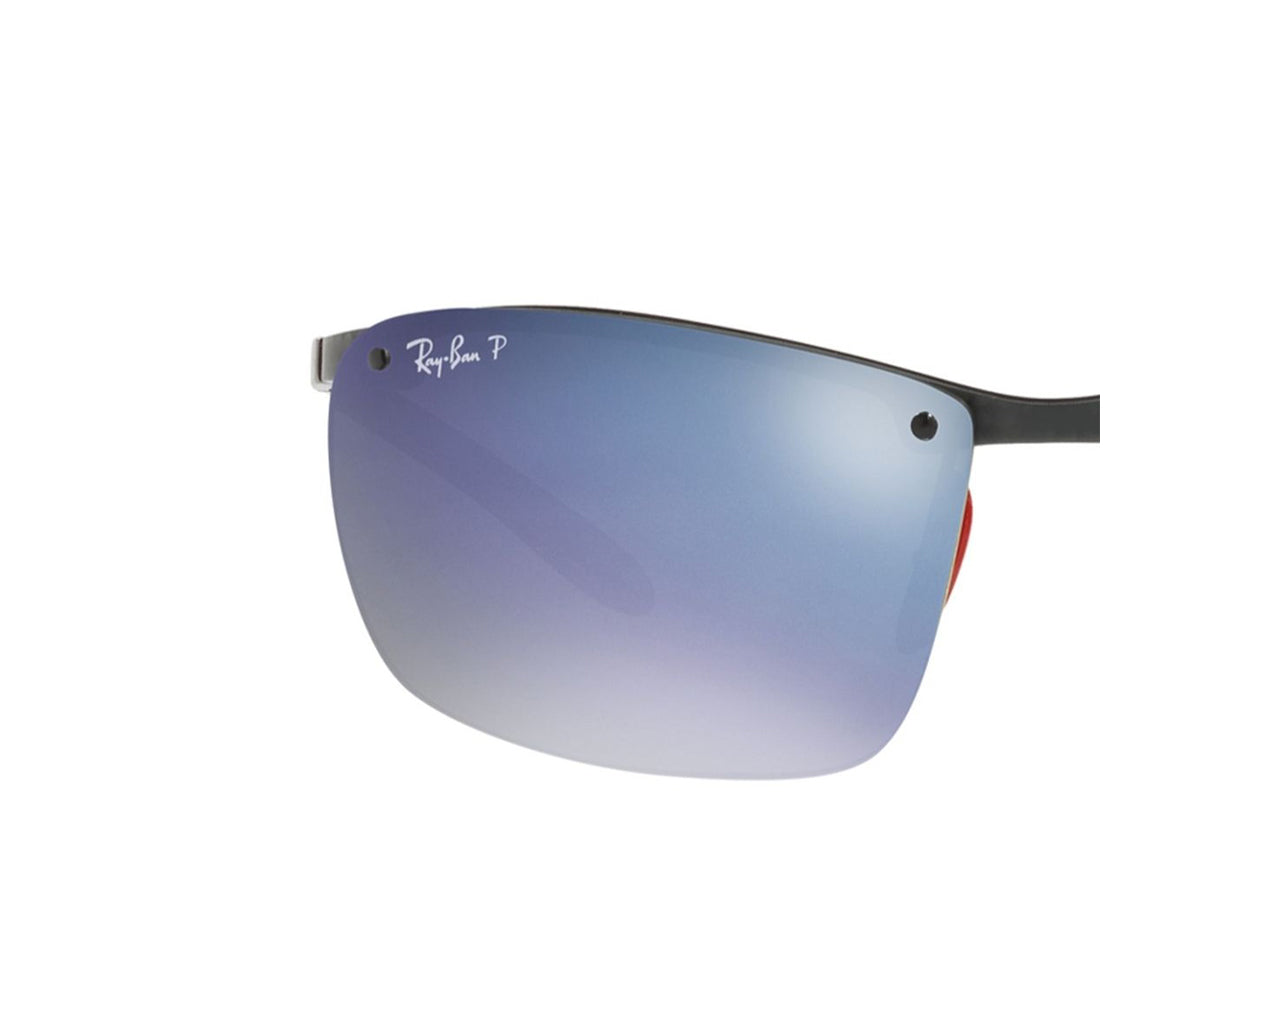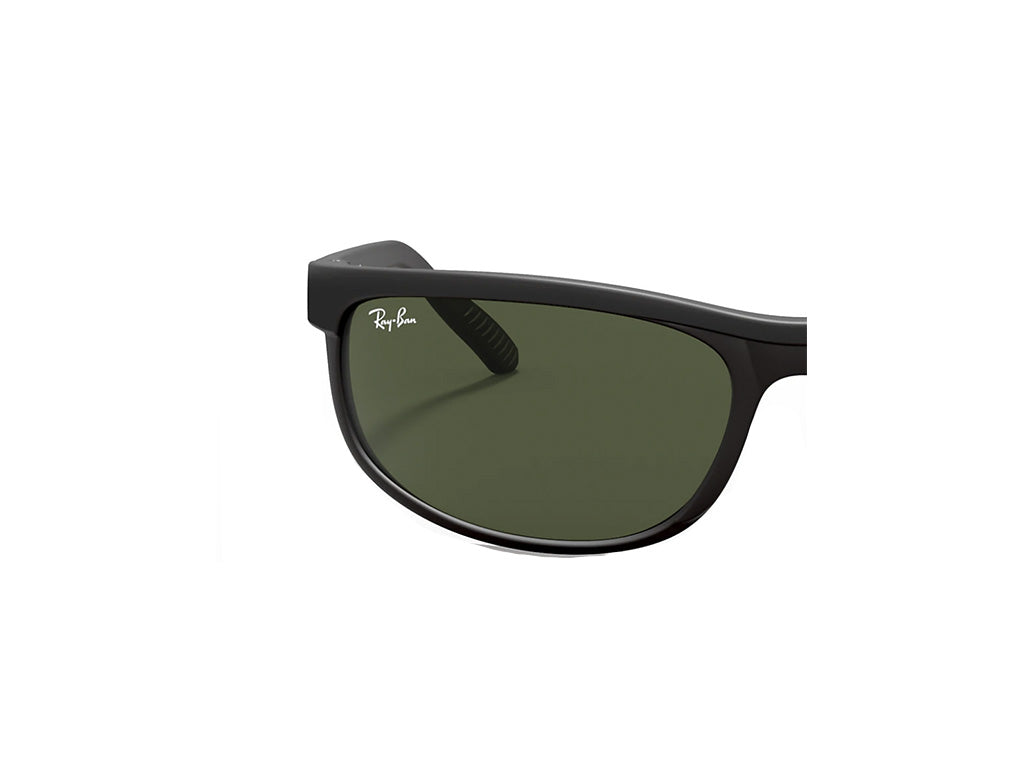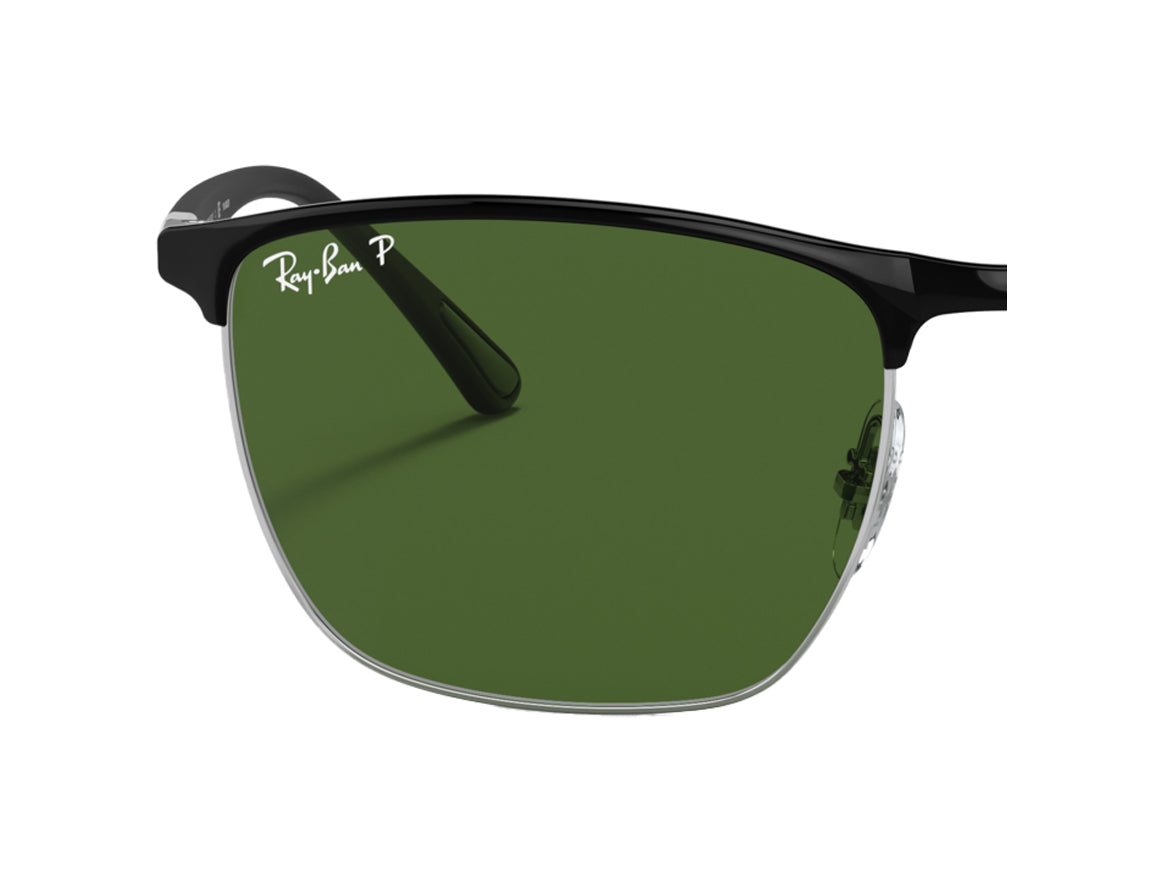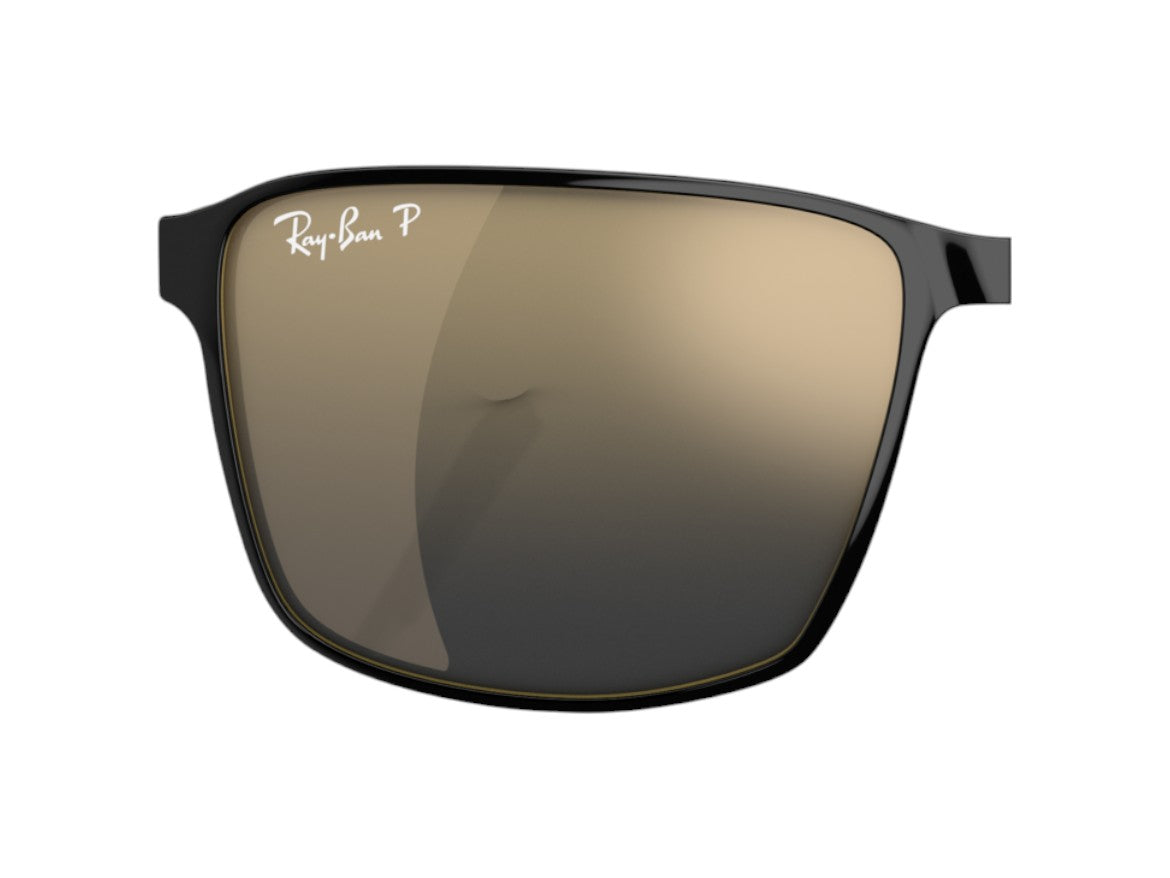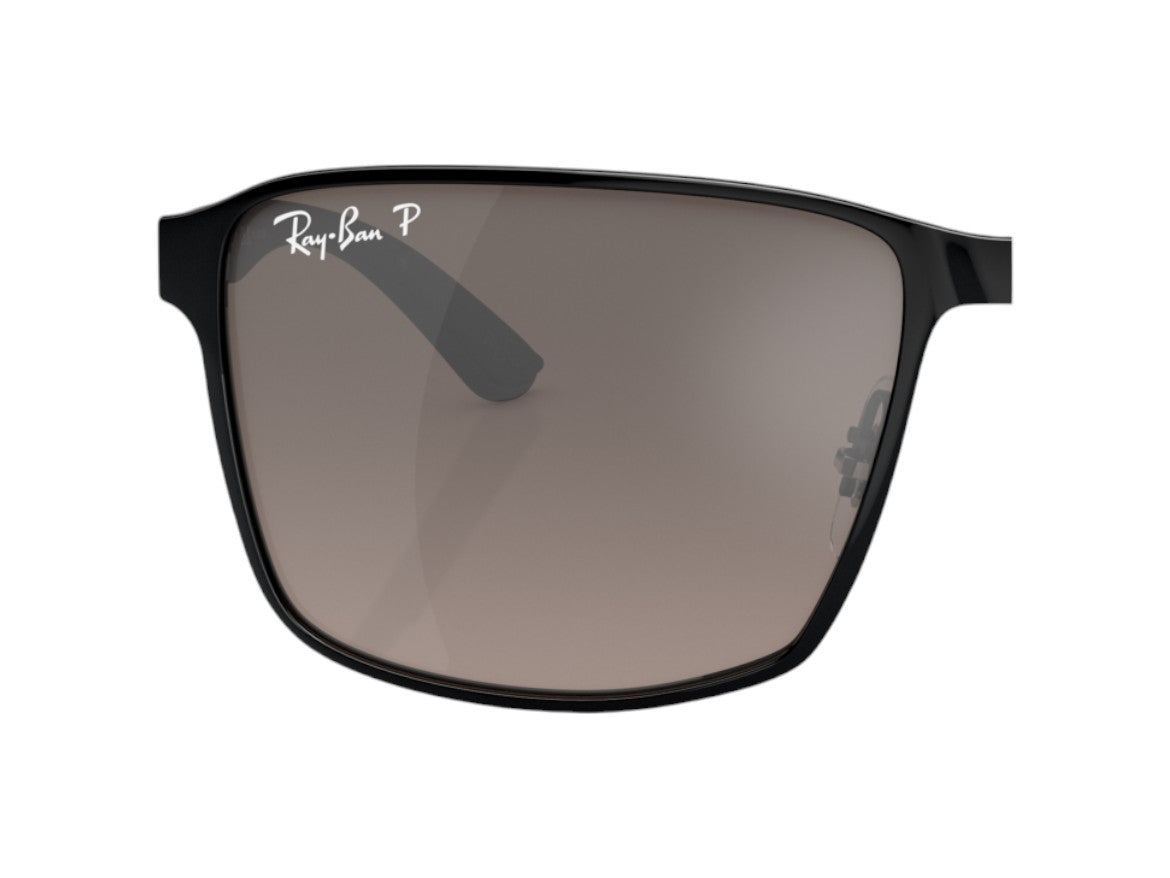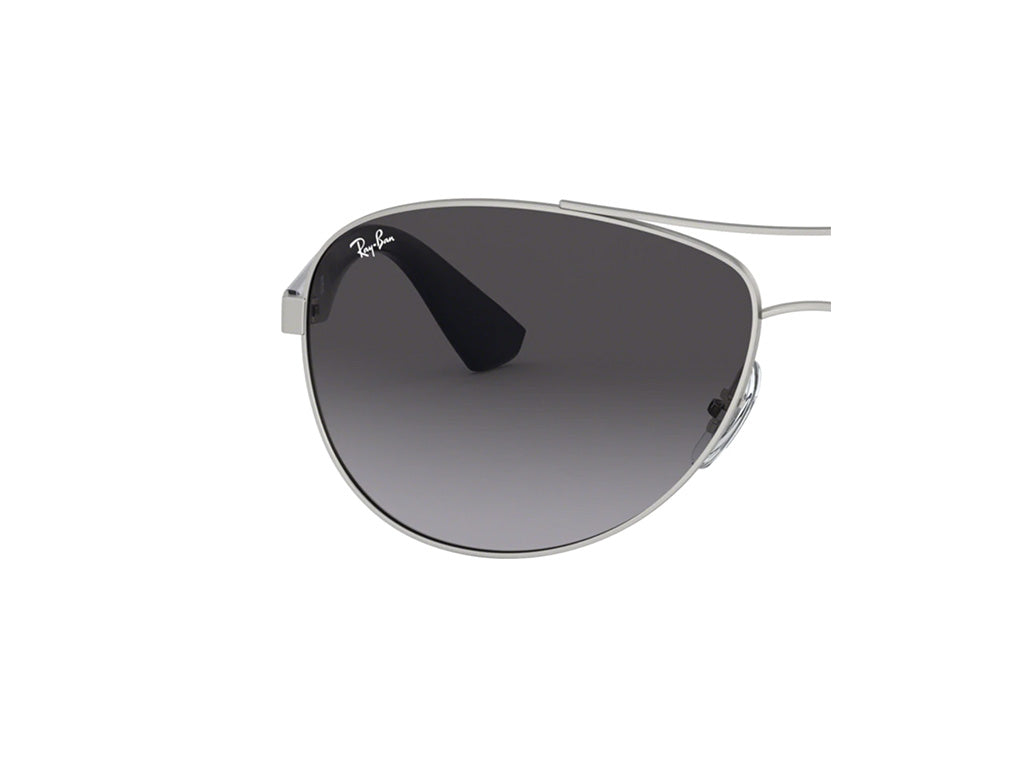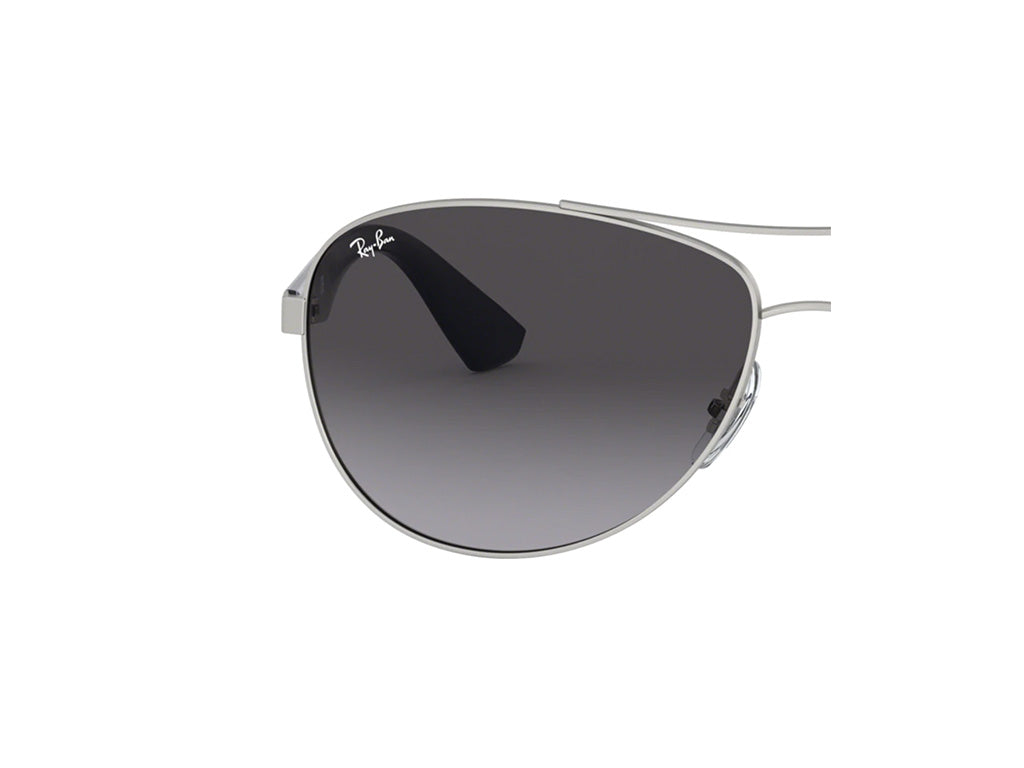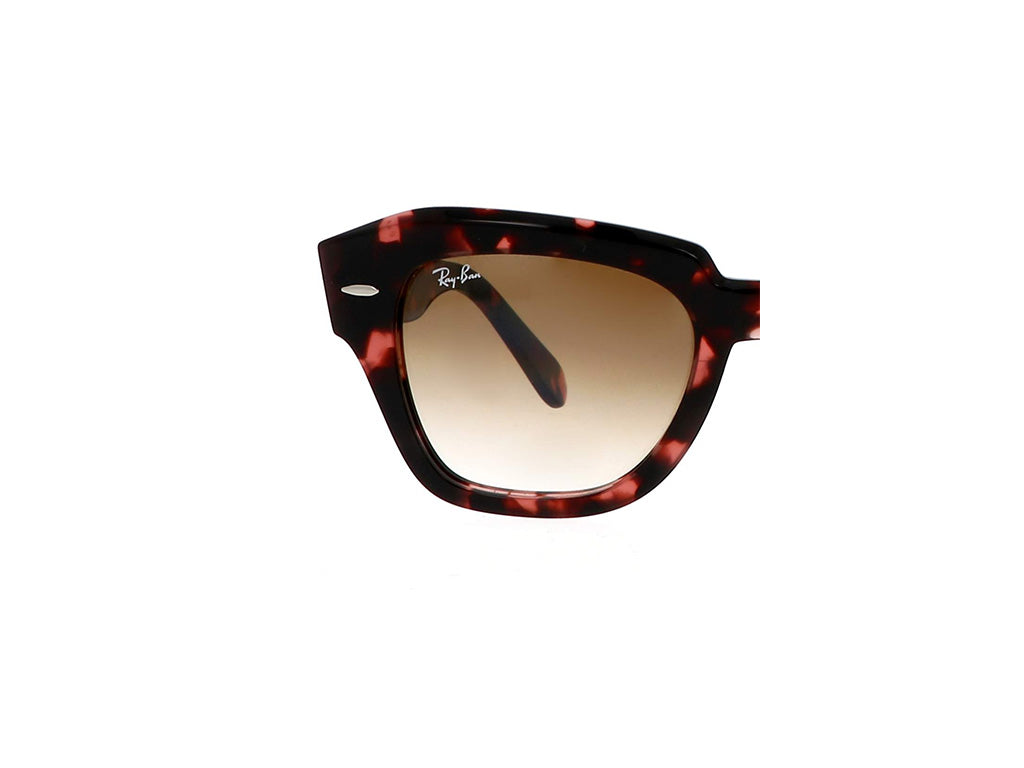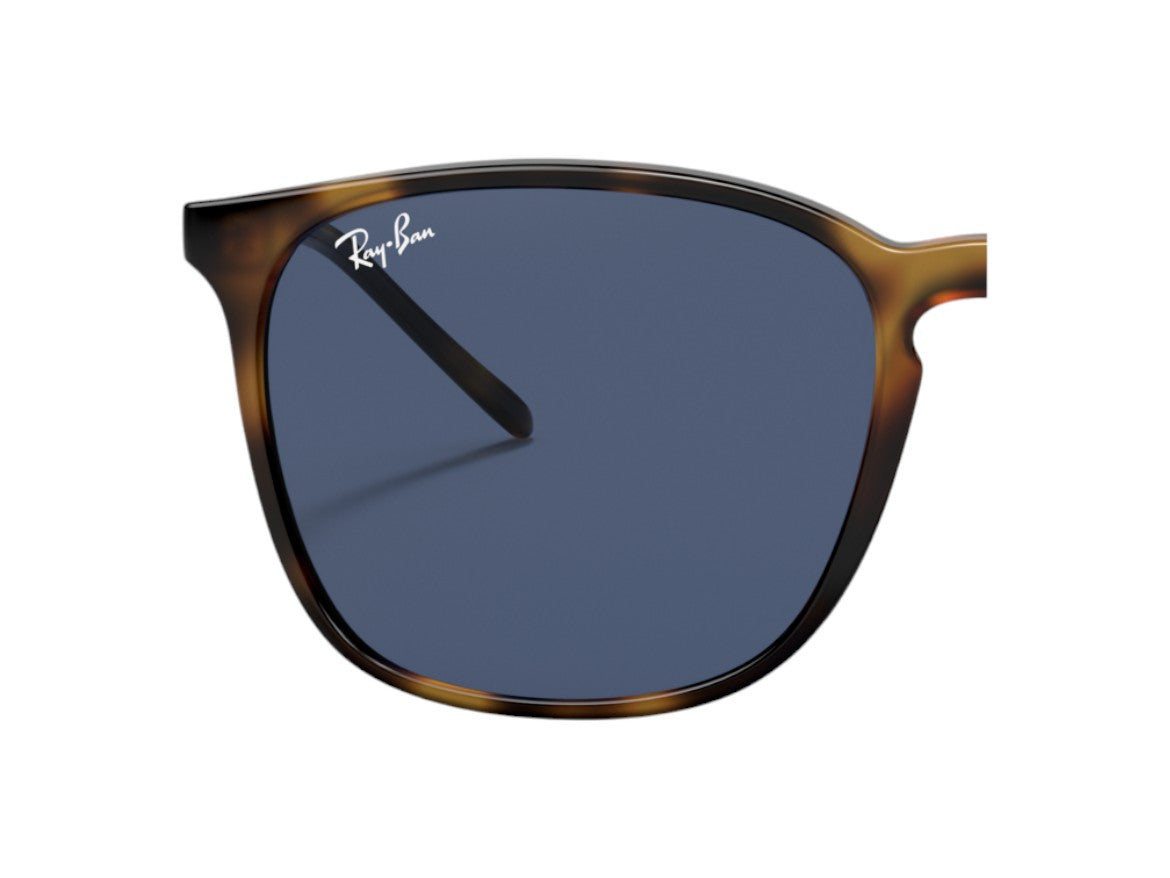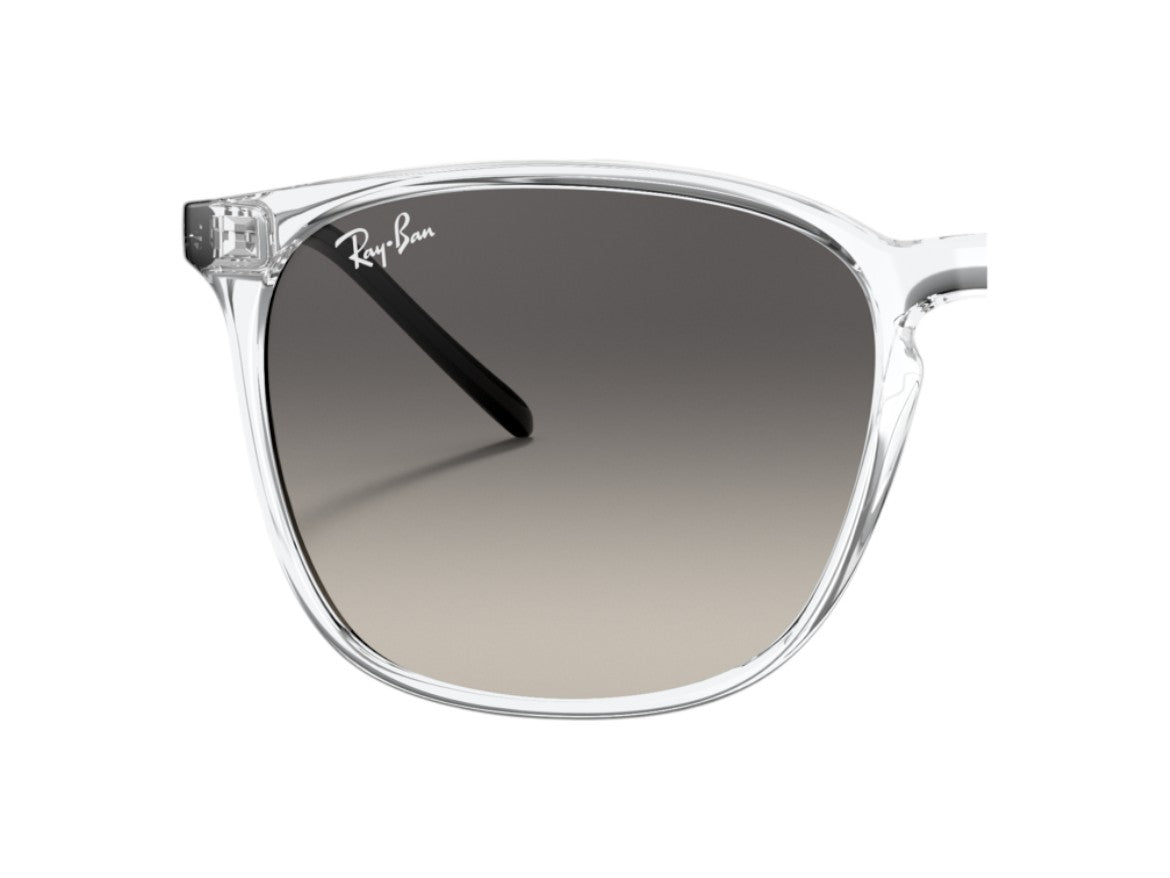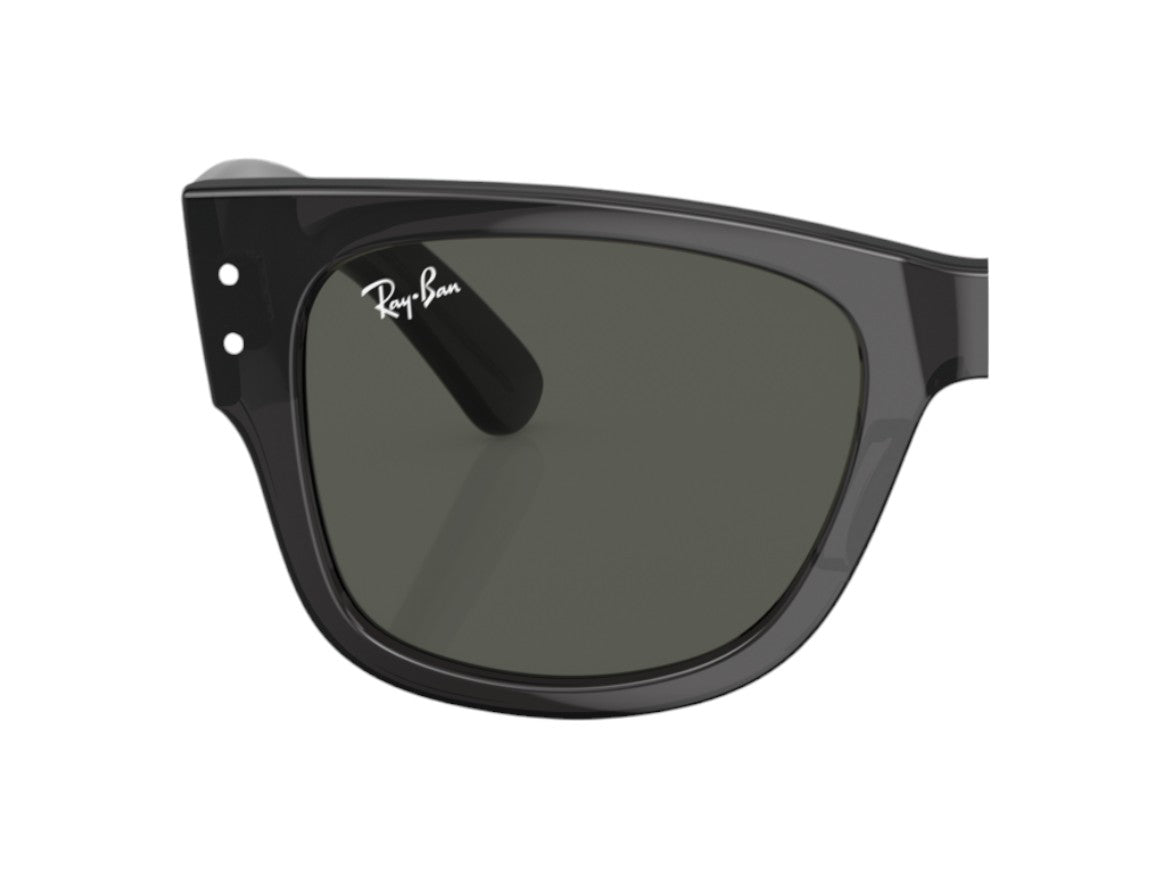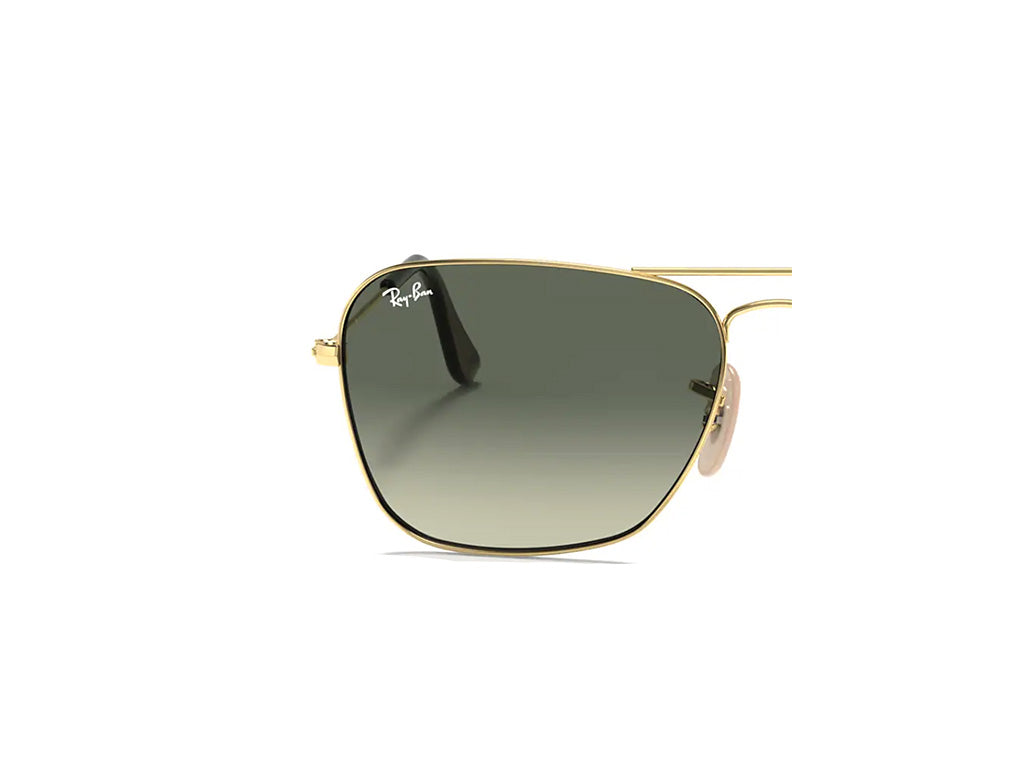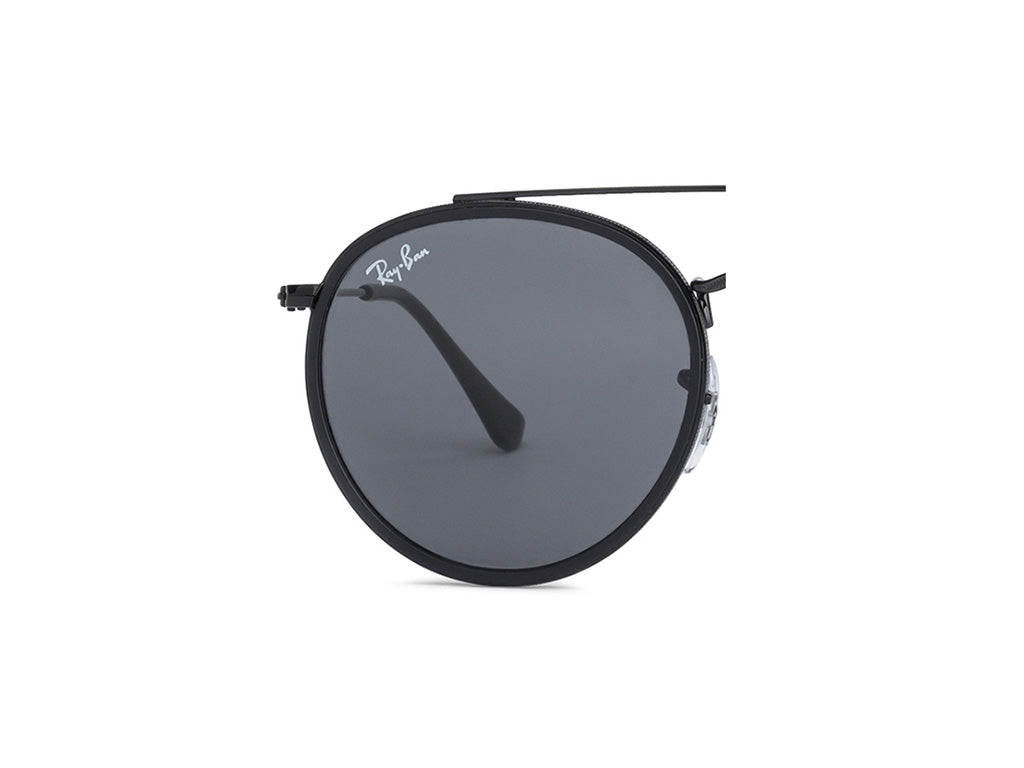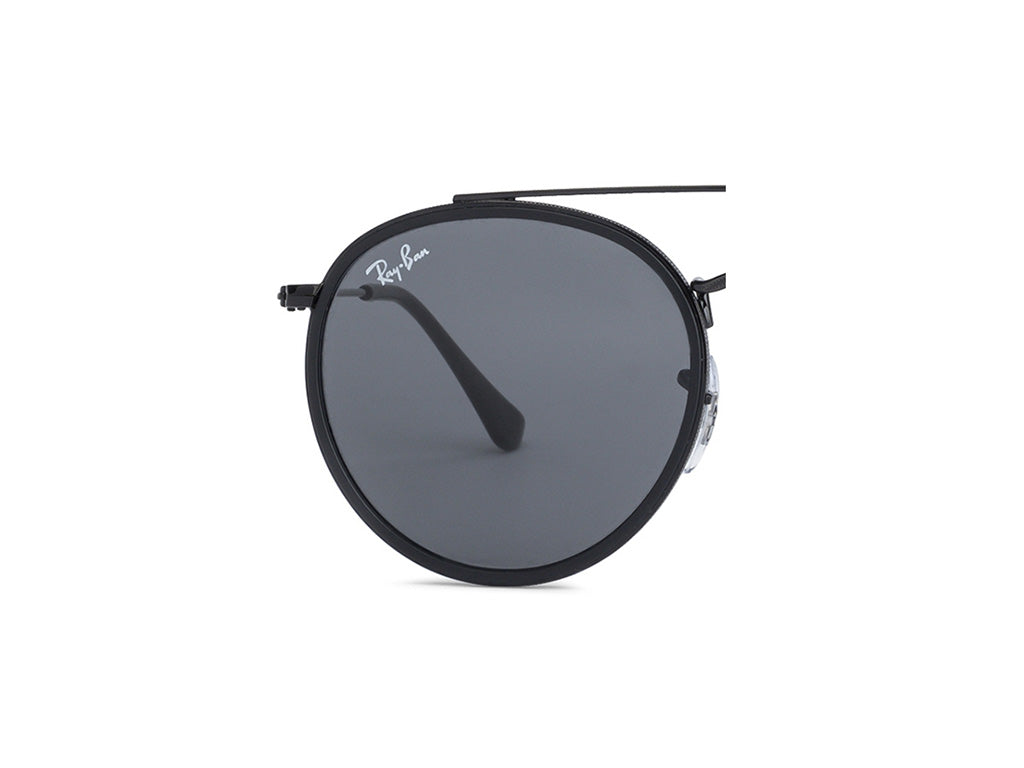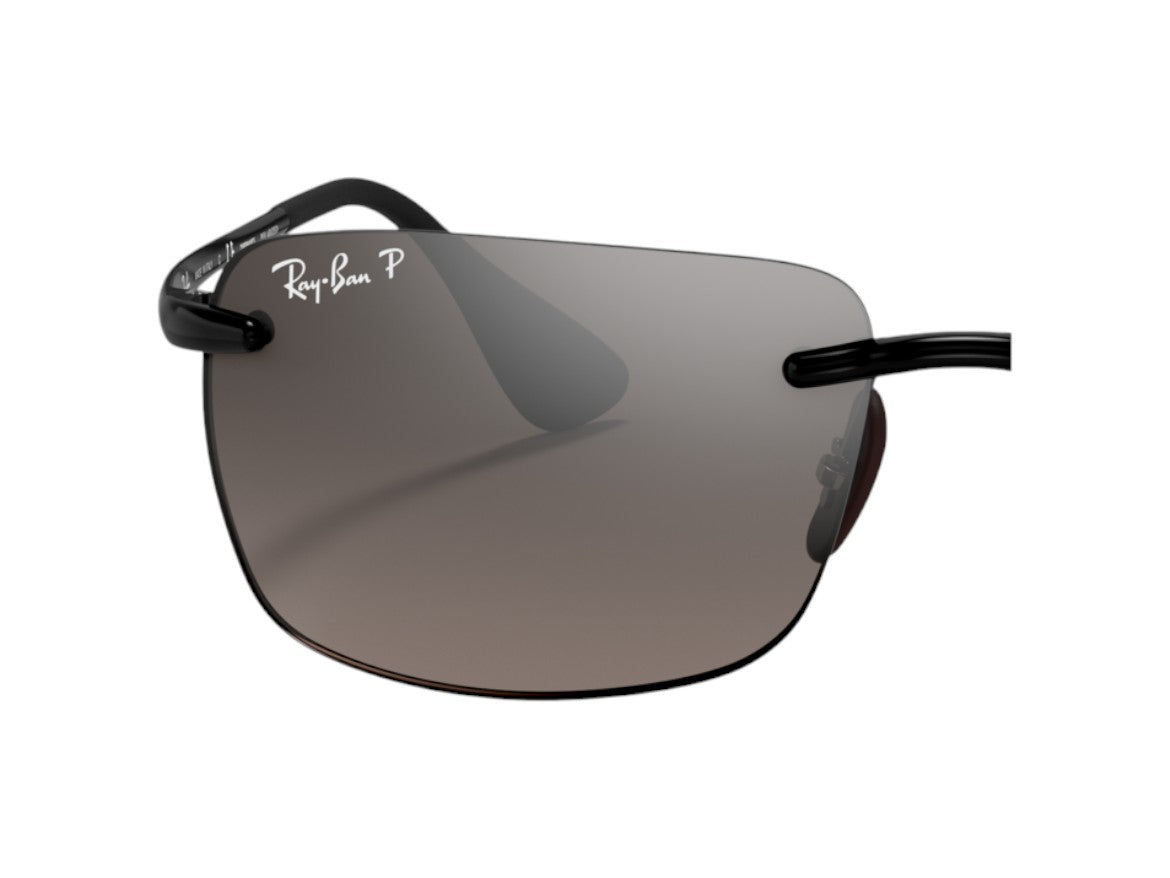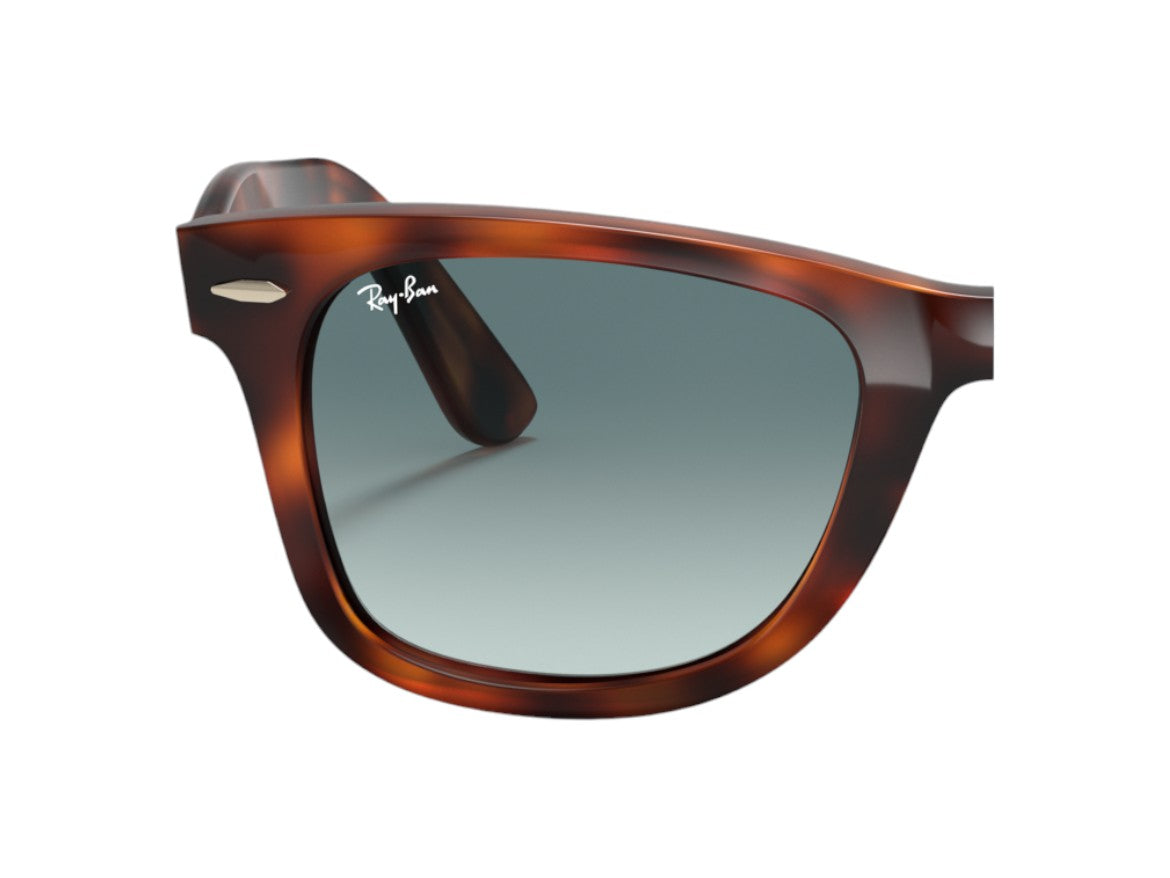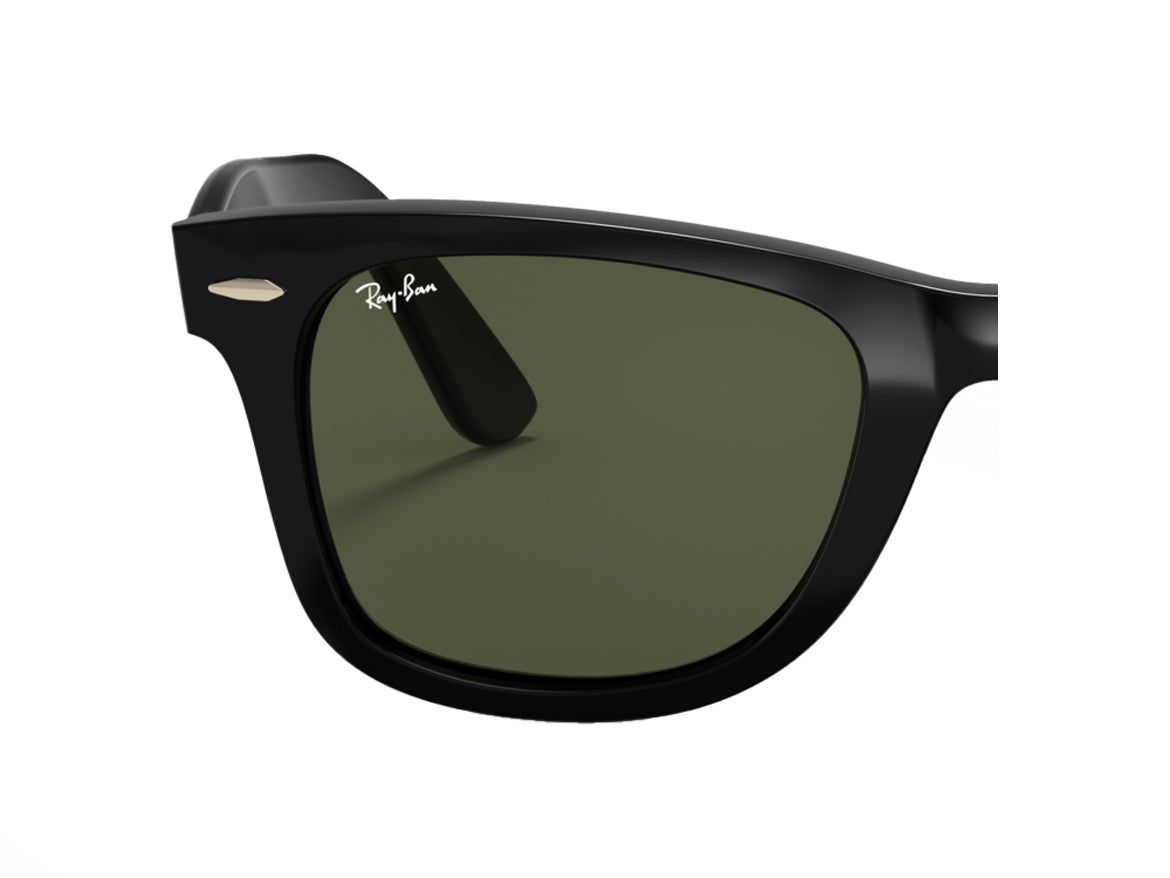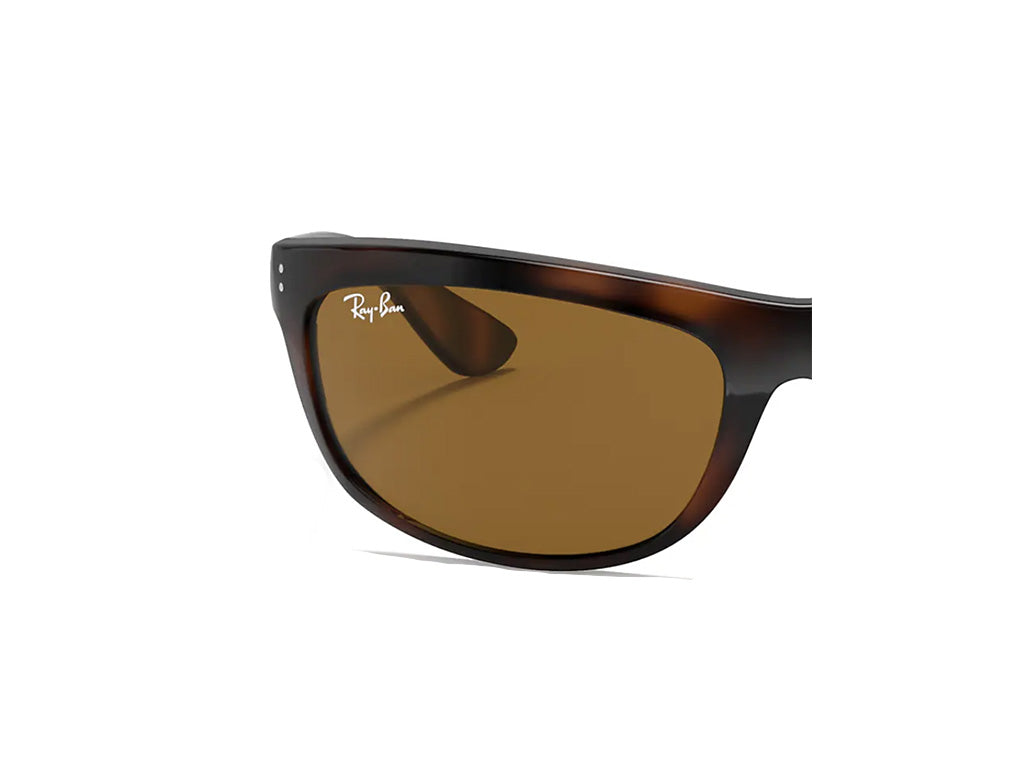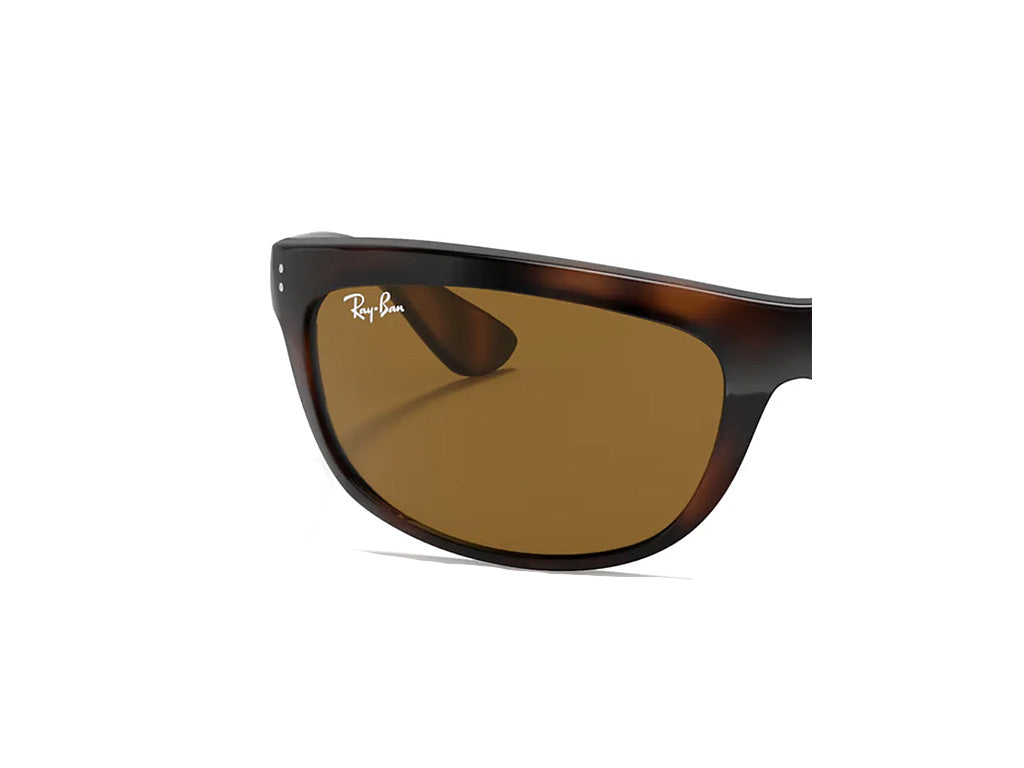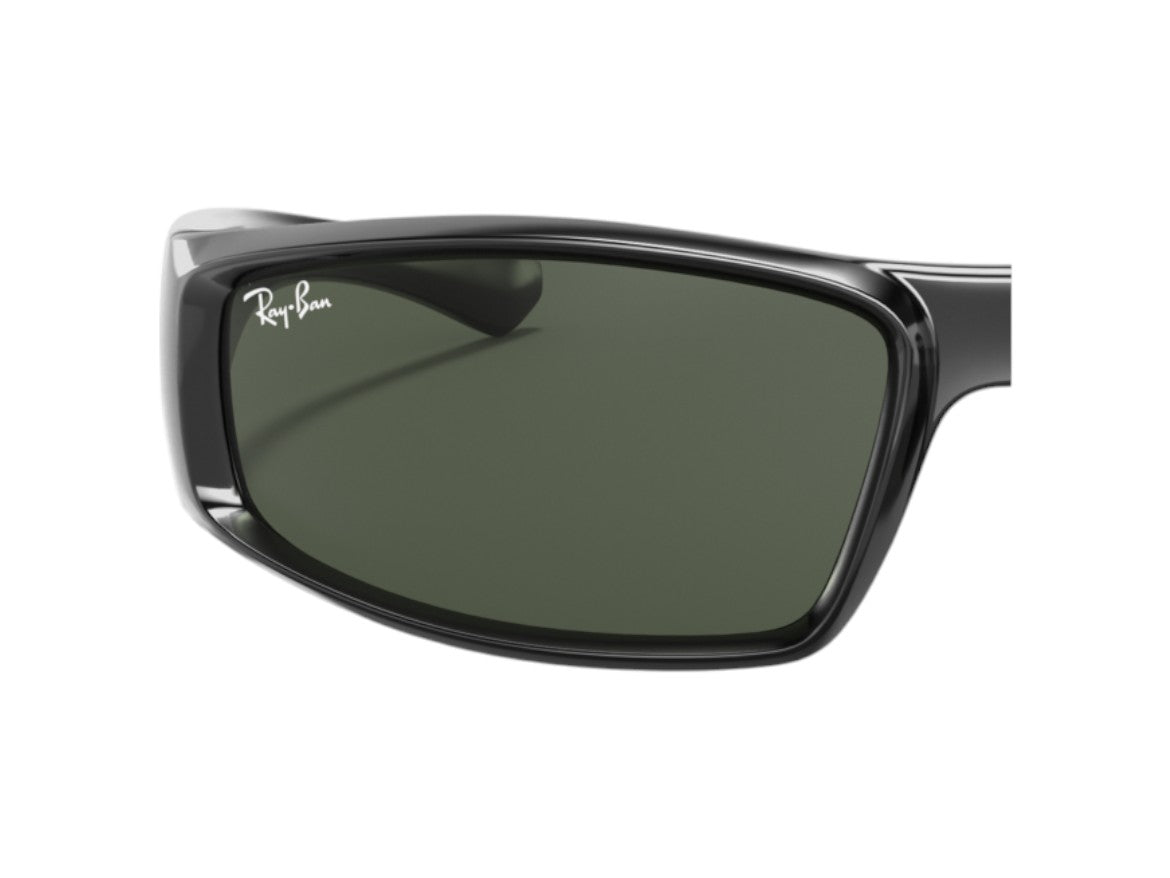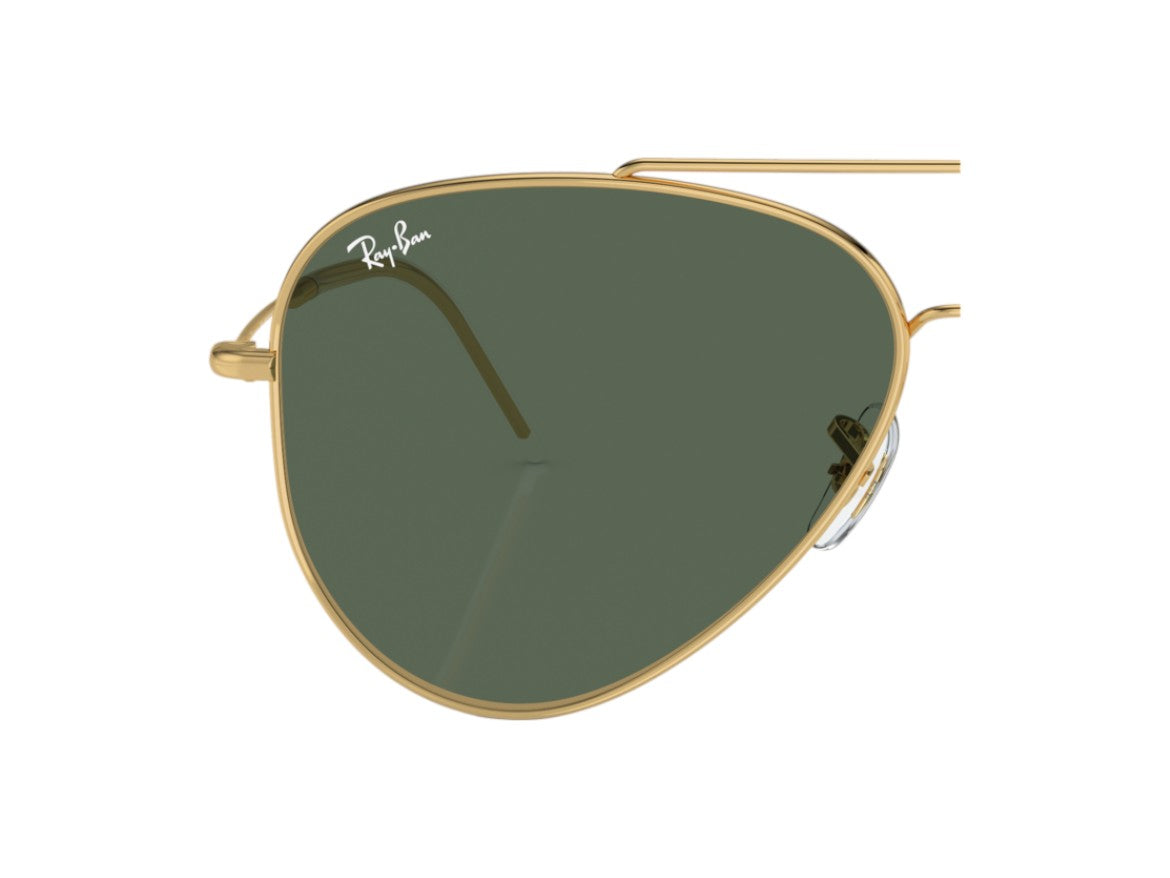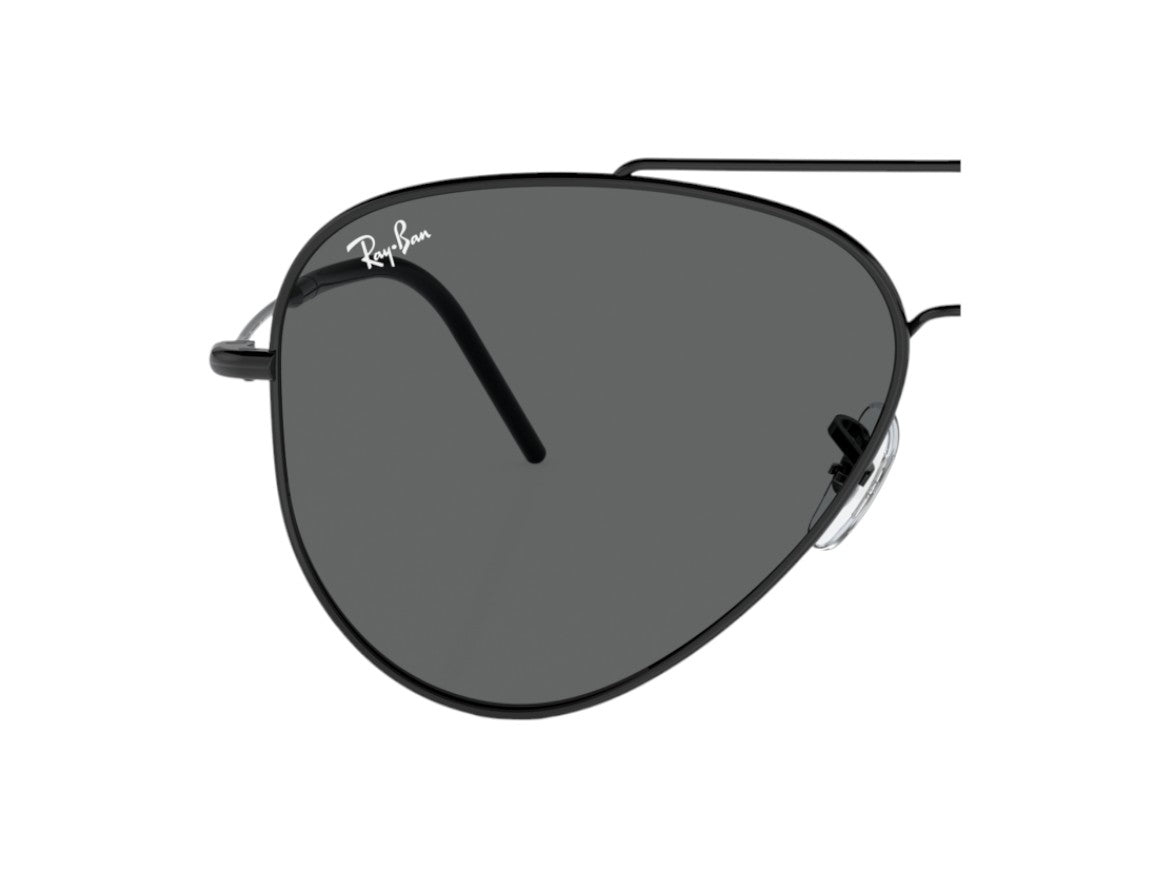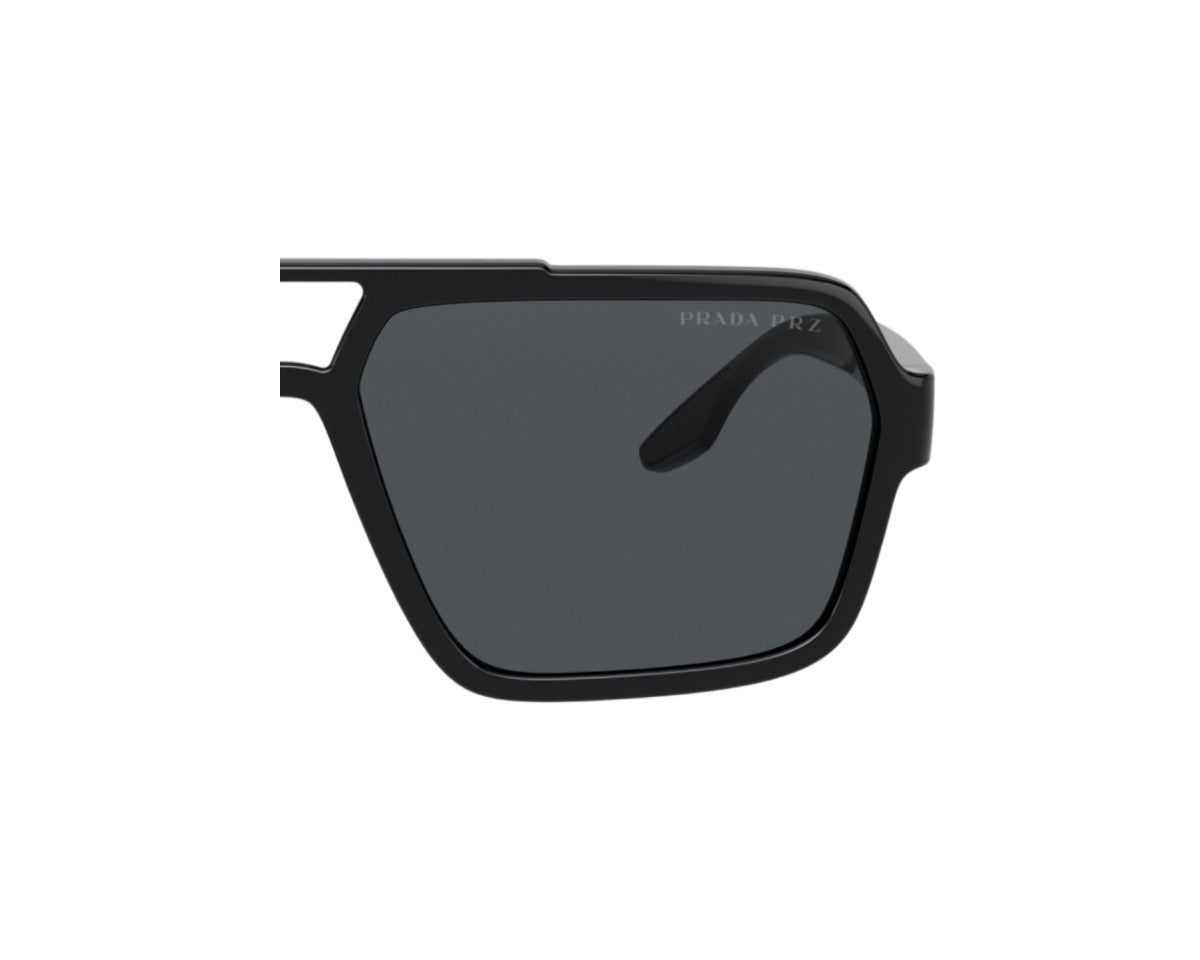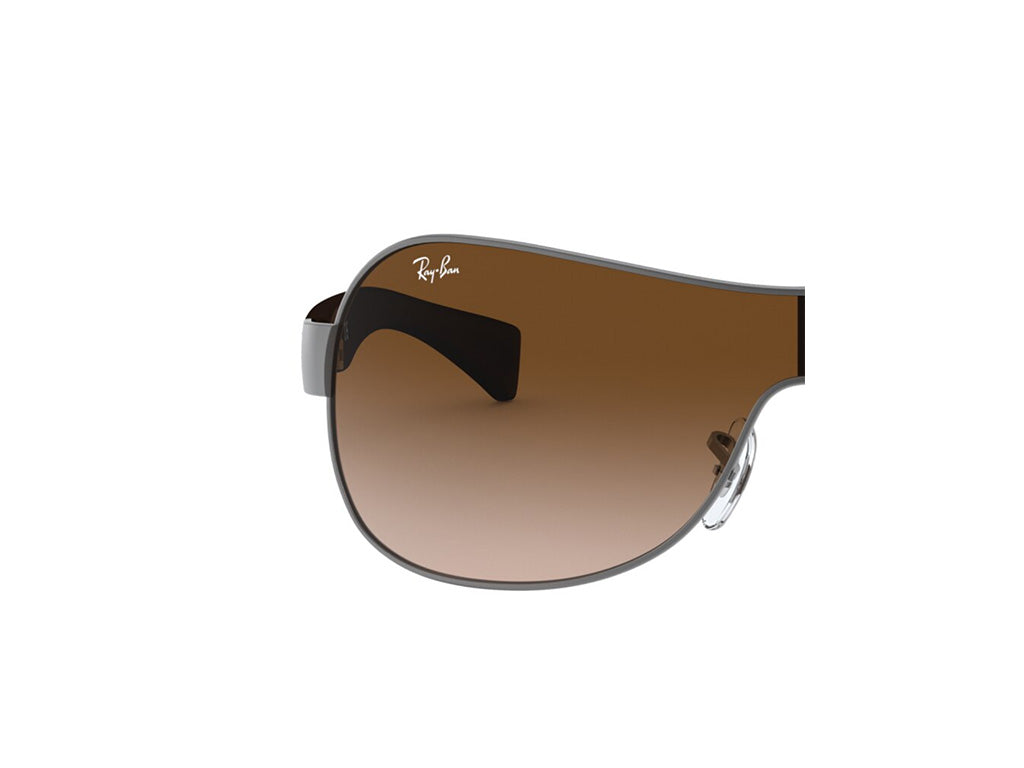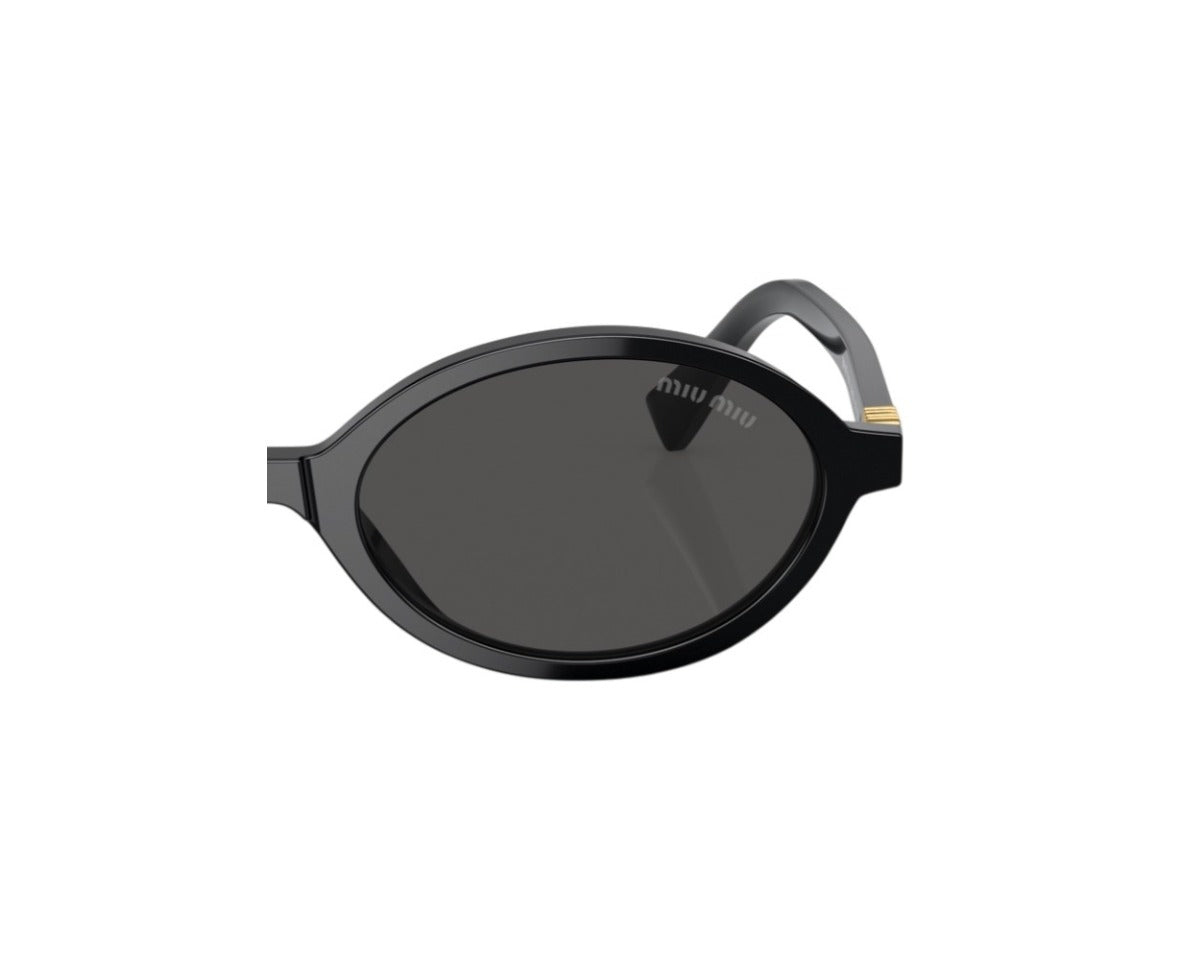
 WRAP
 CAT EYE
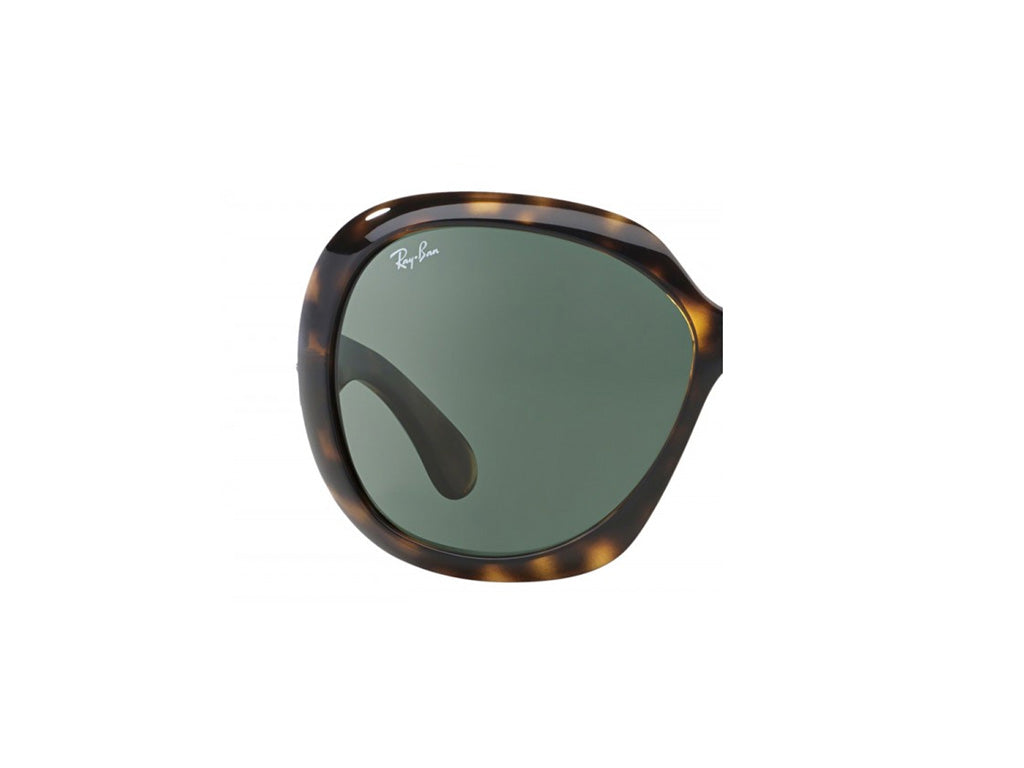
 BUTTERFLY
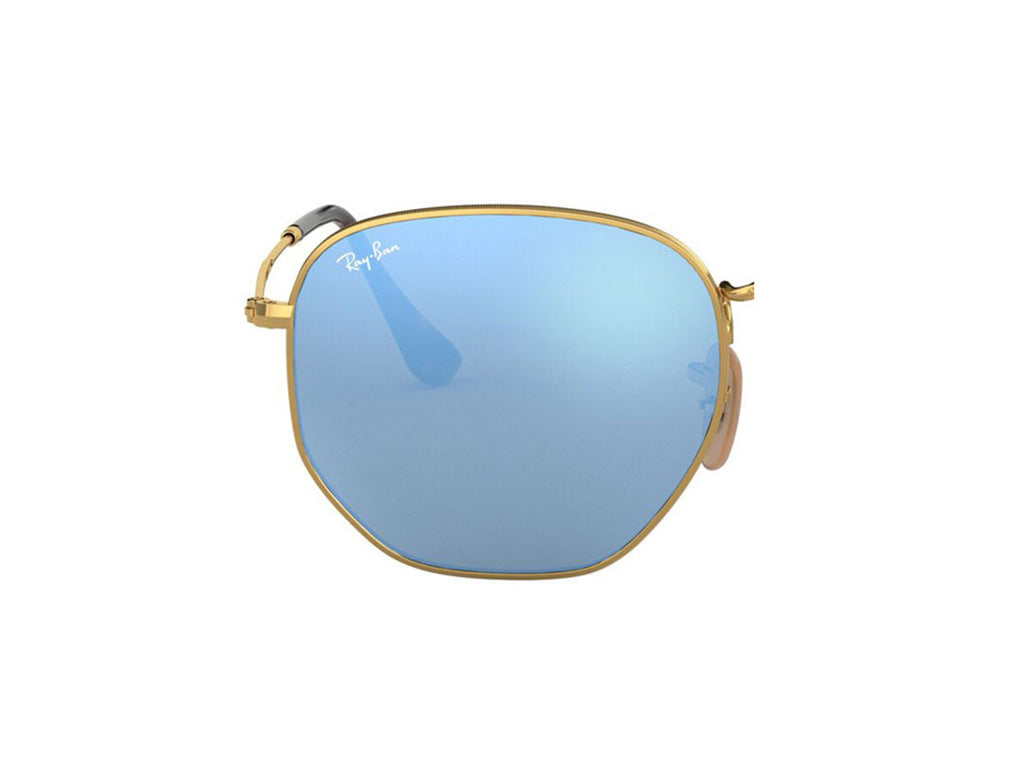
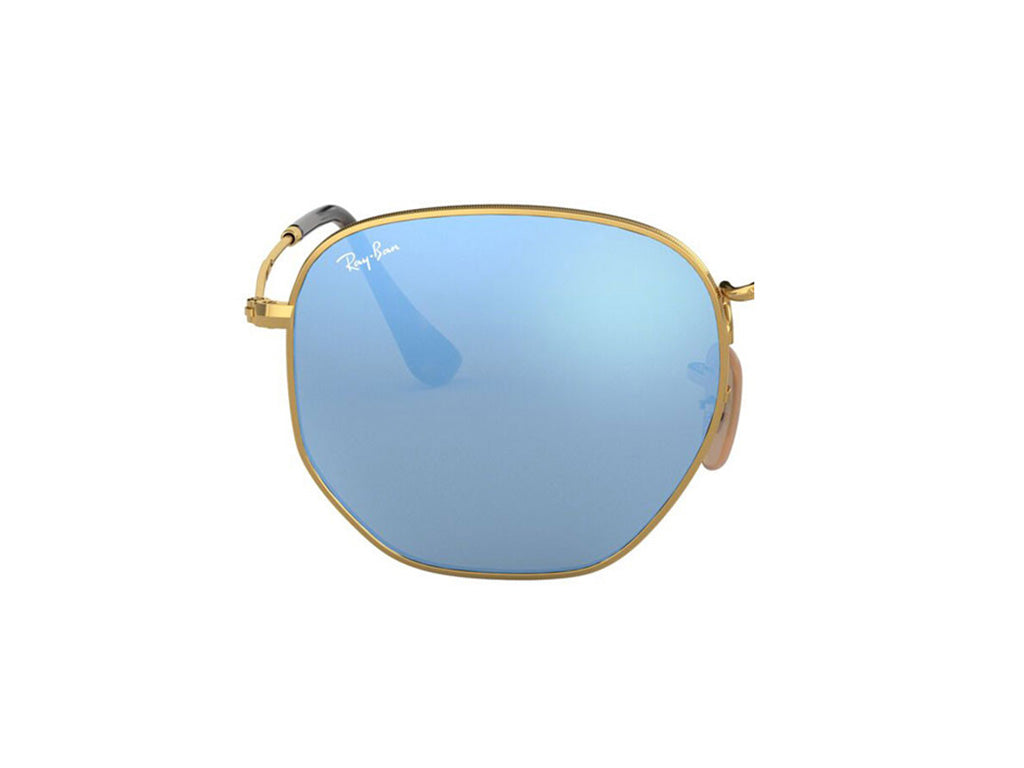
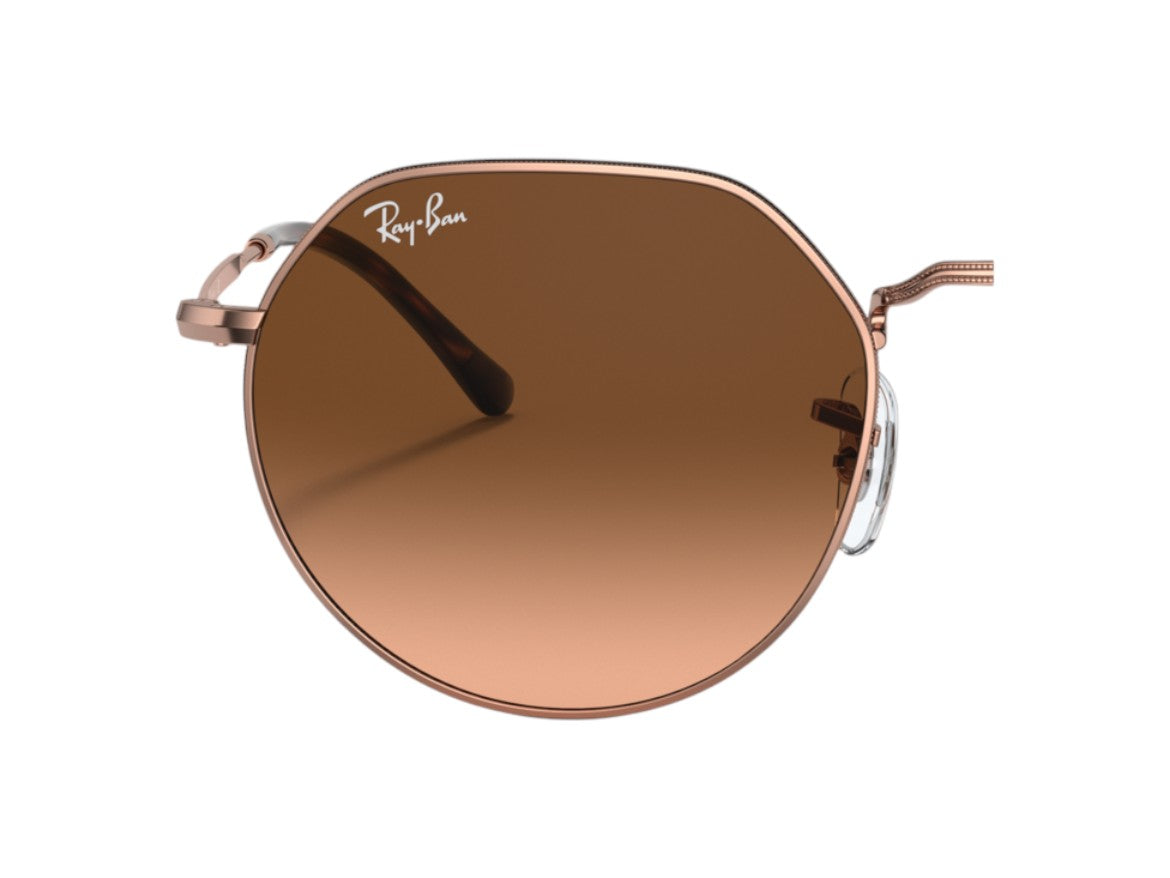
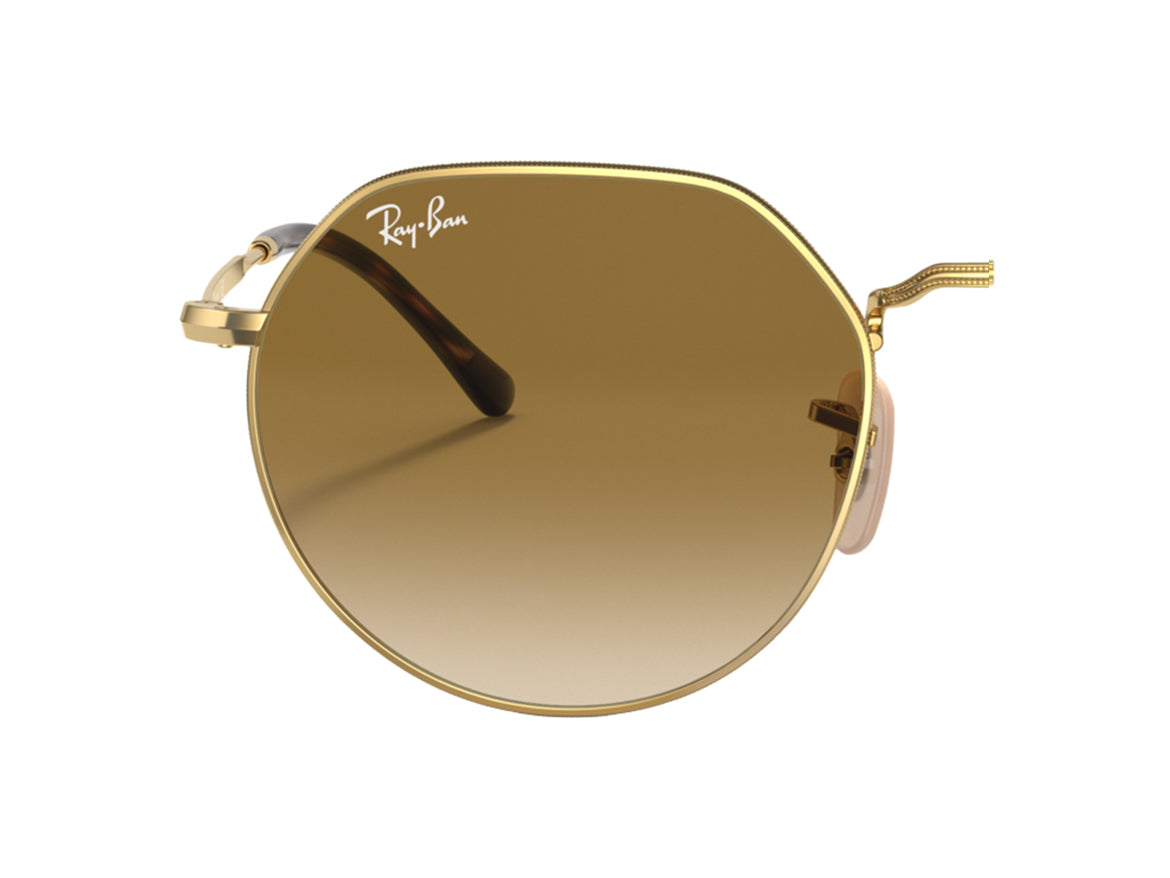
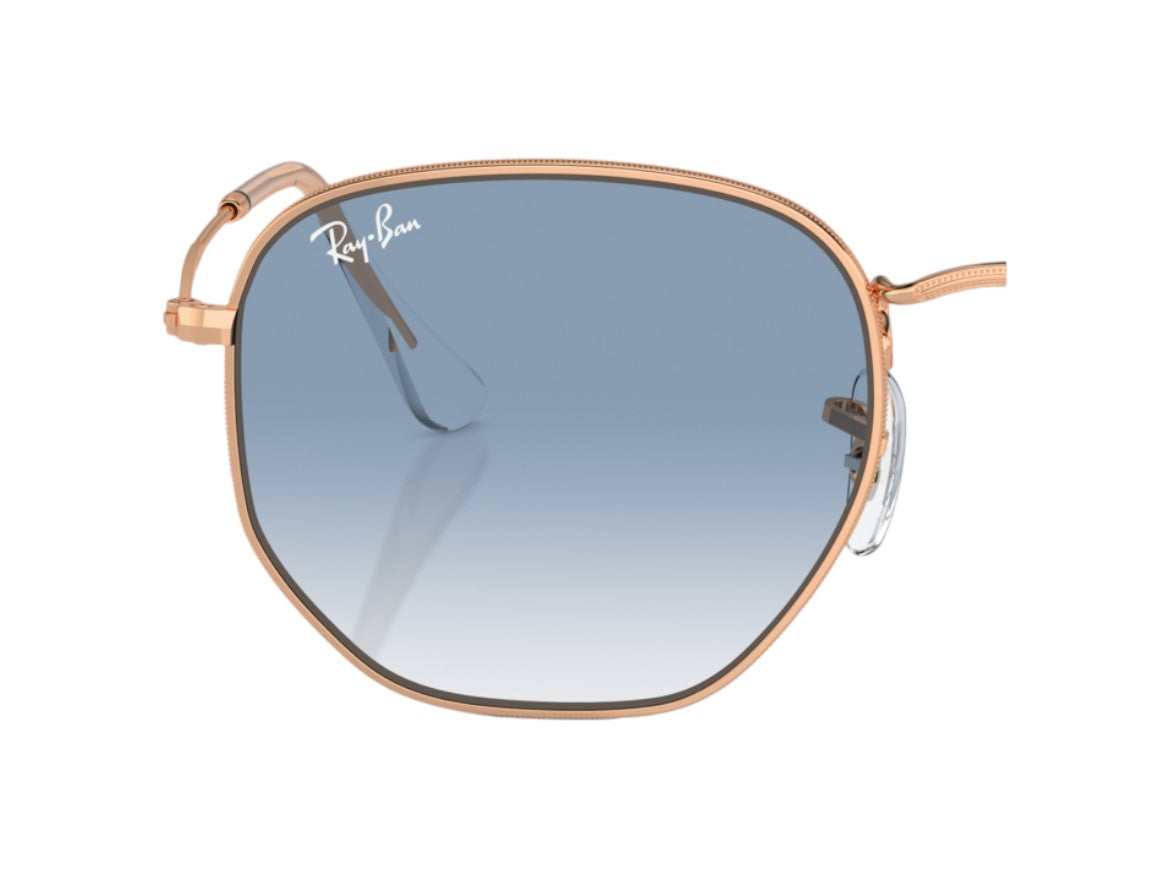
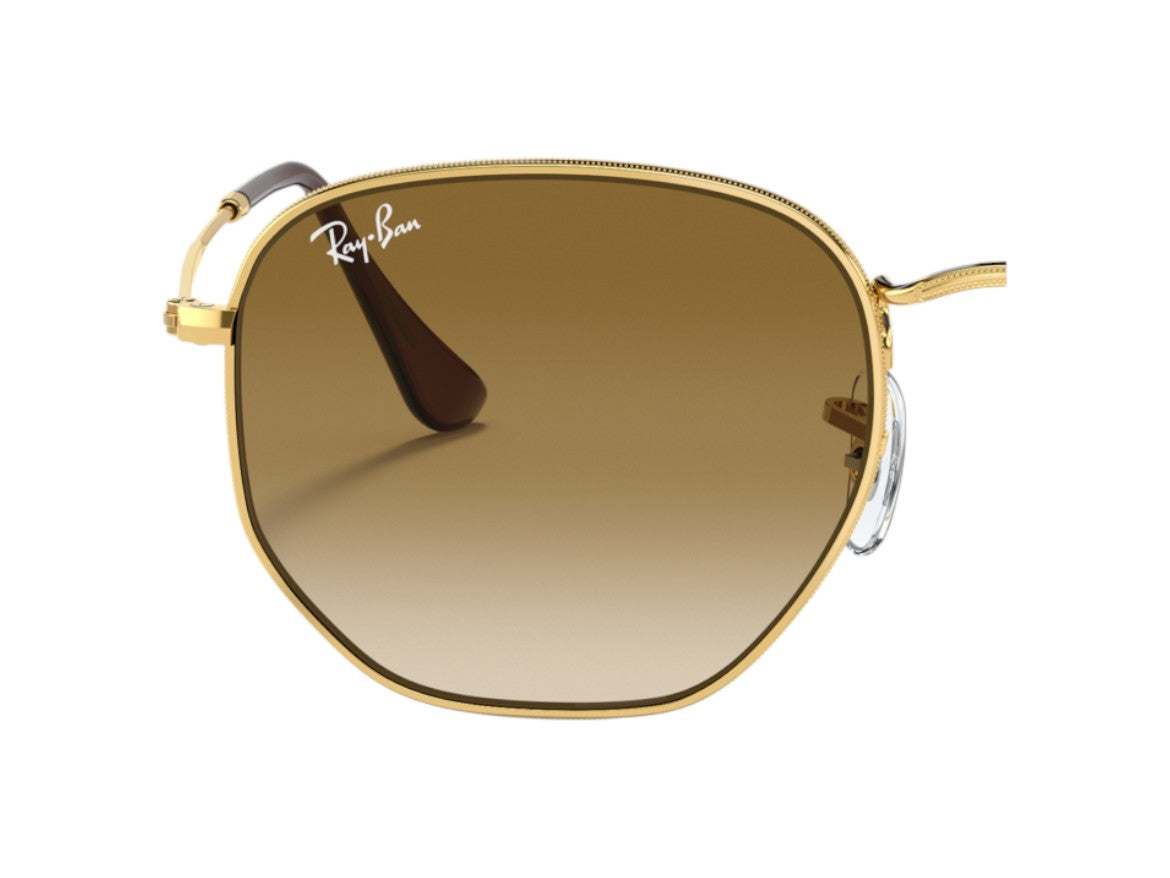
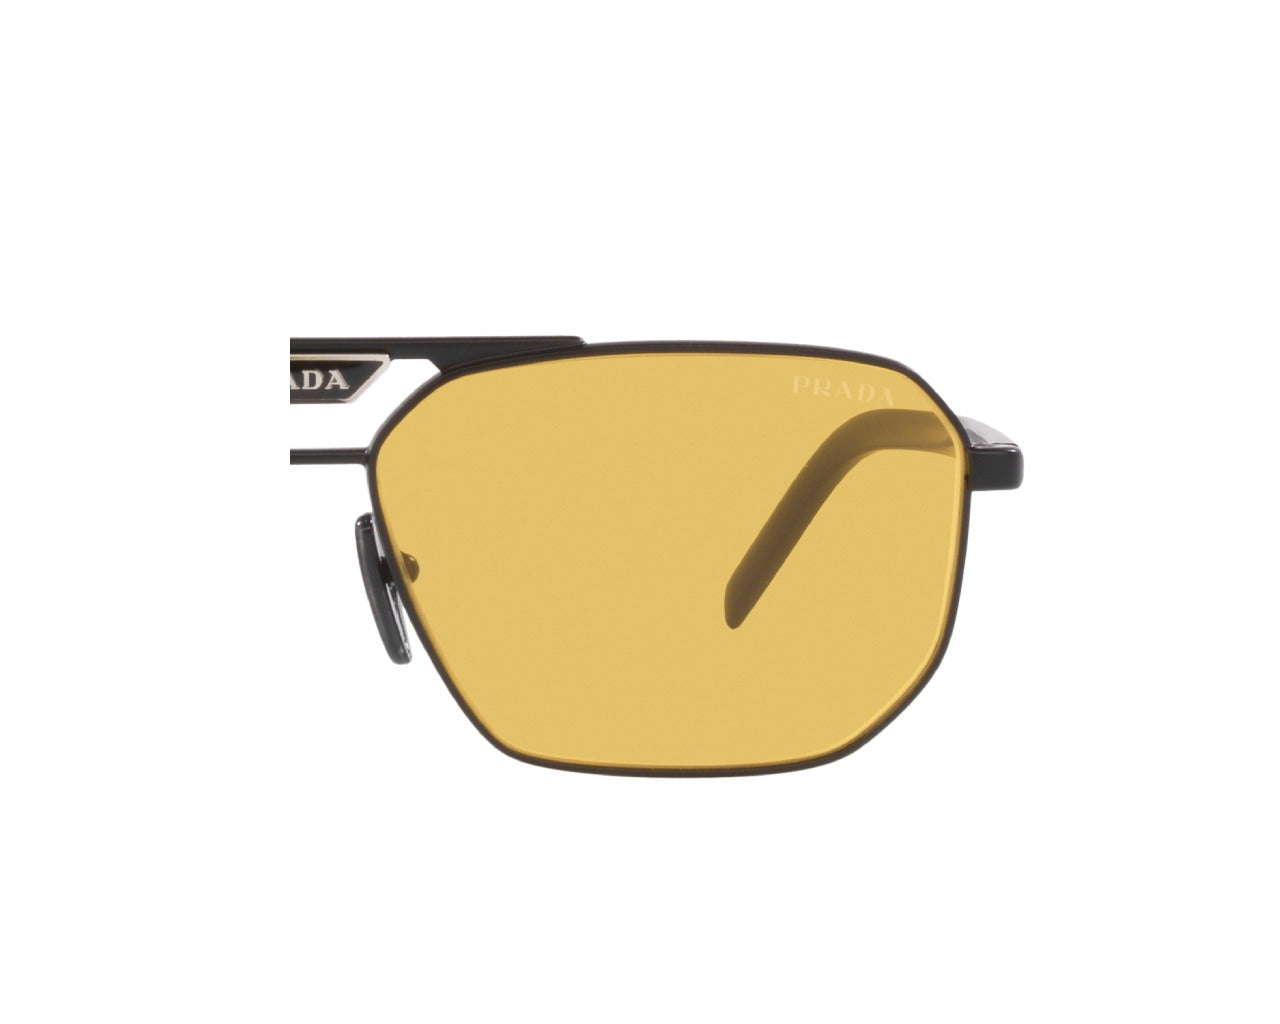
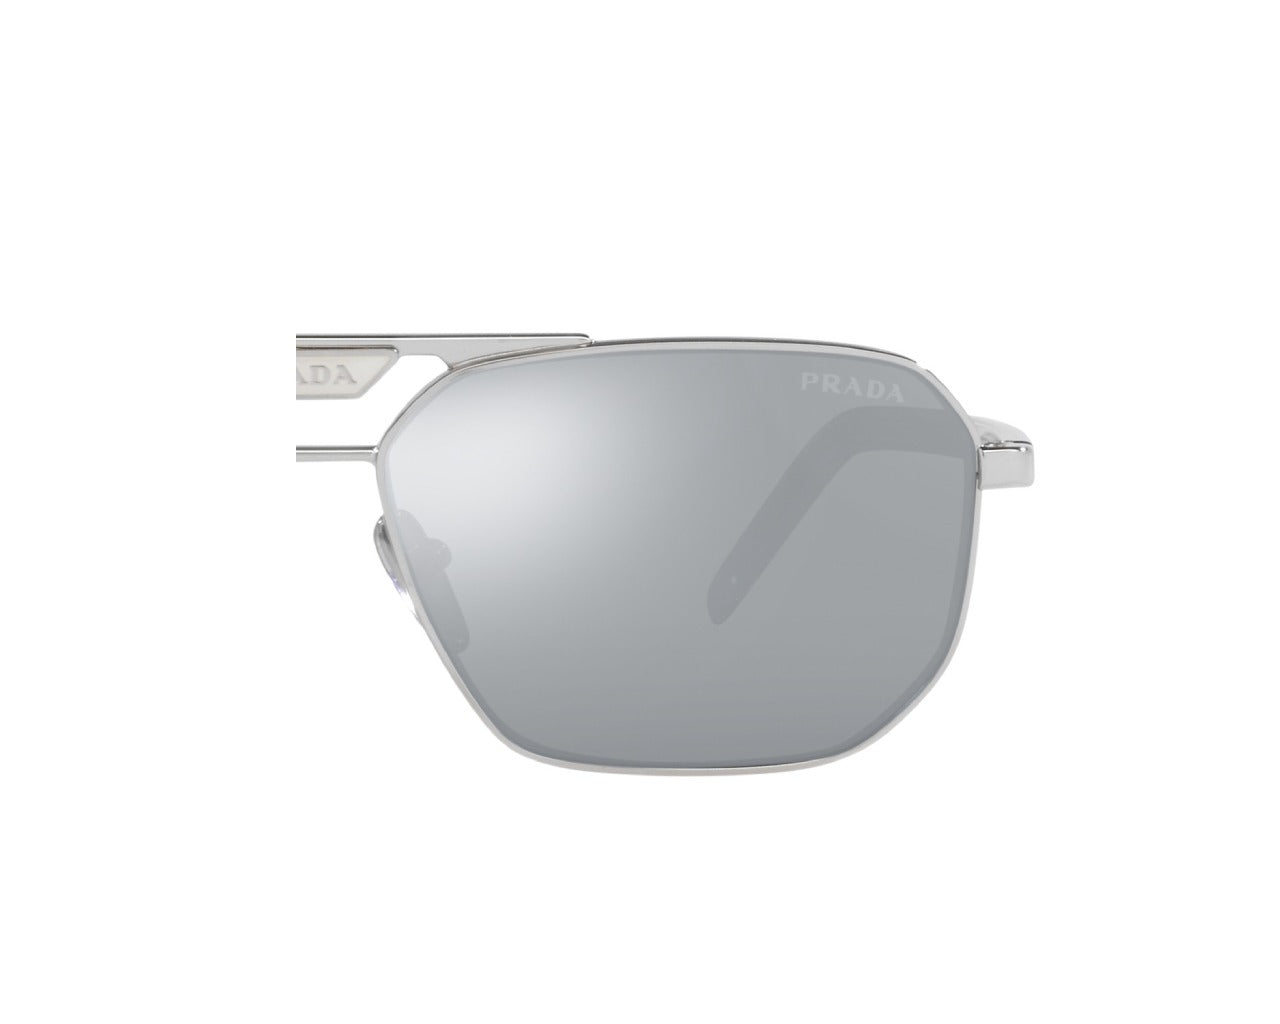
 GEOMETRIC
 MASK
 OVERSIZE
 PANTHOS
 PILLOW
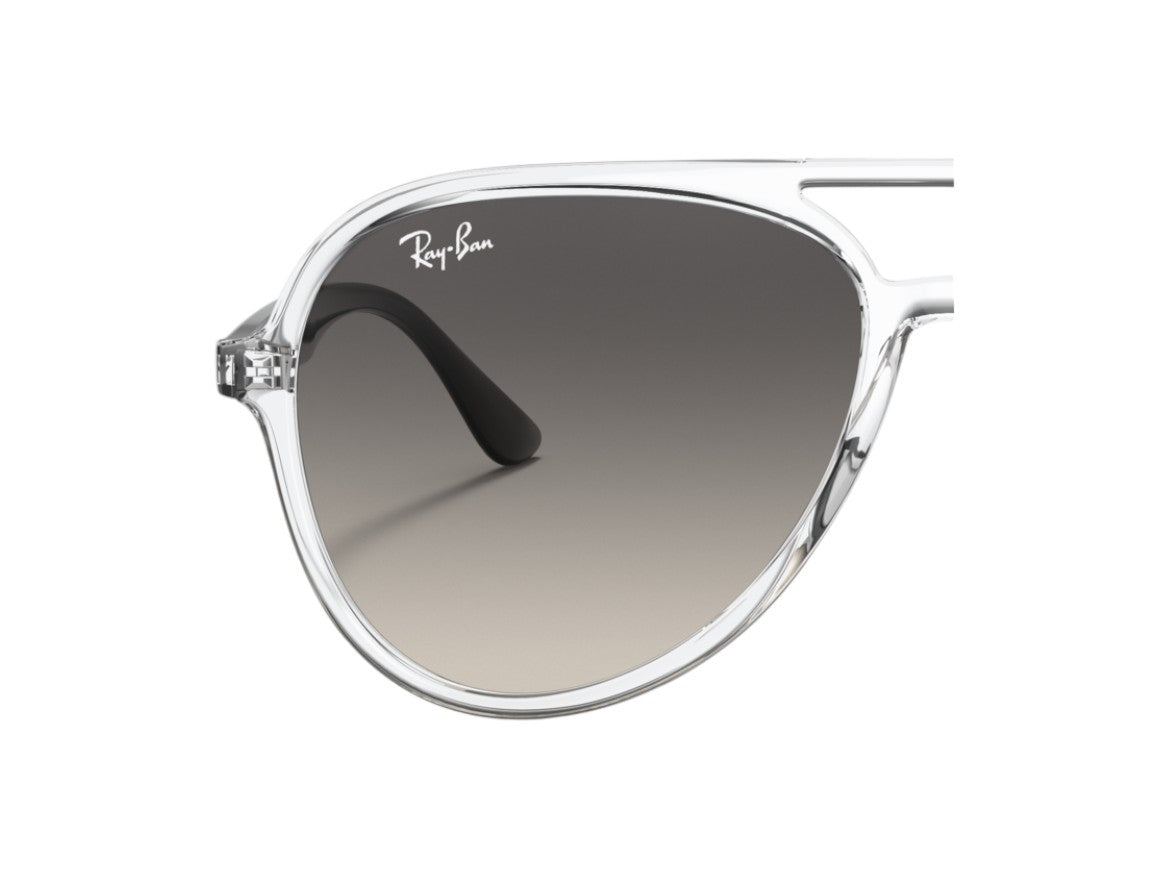
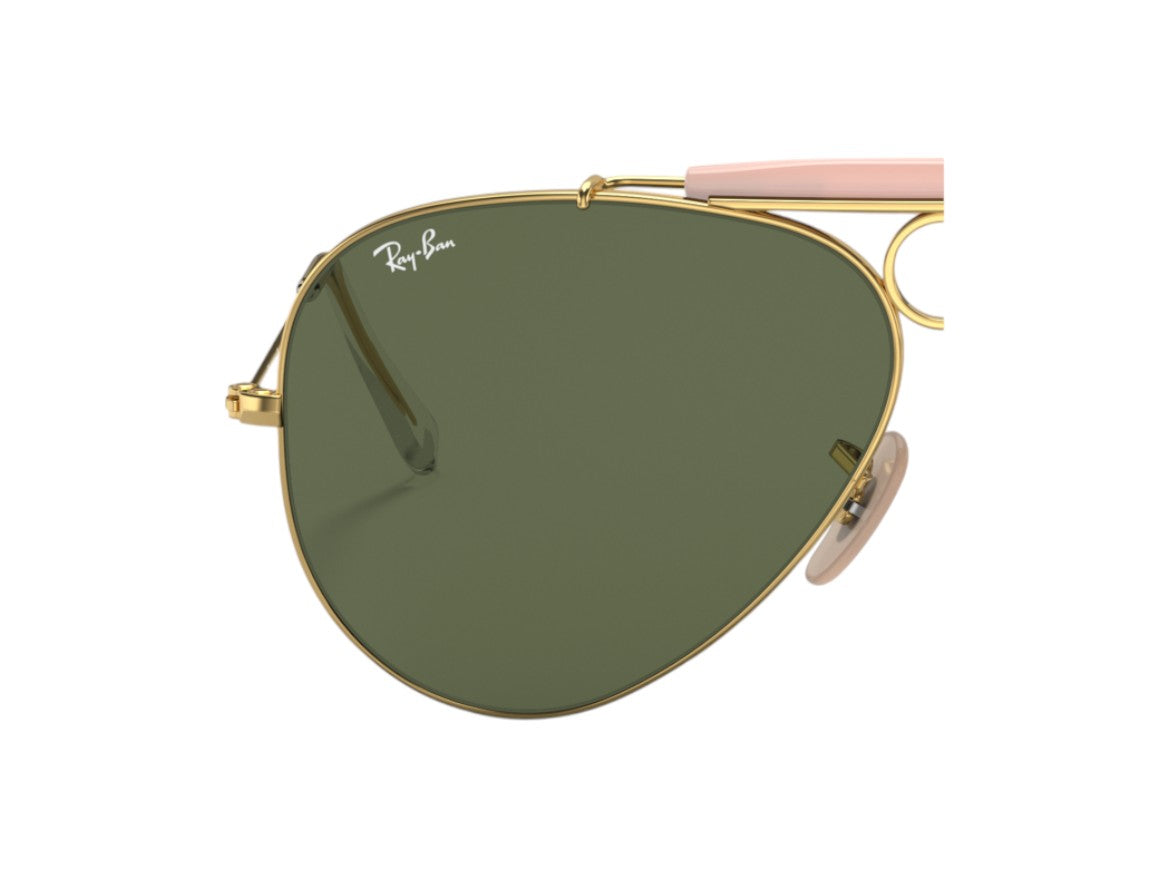
 PILOT
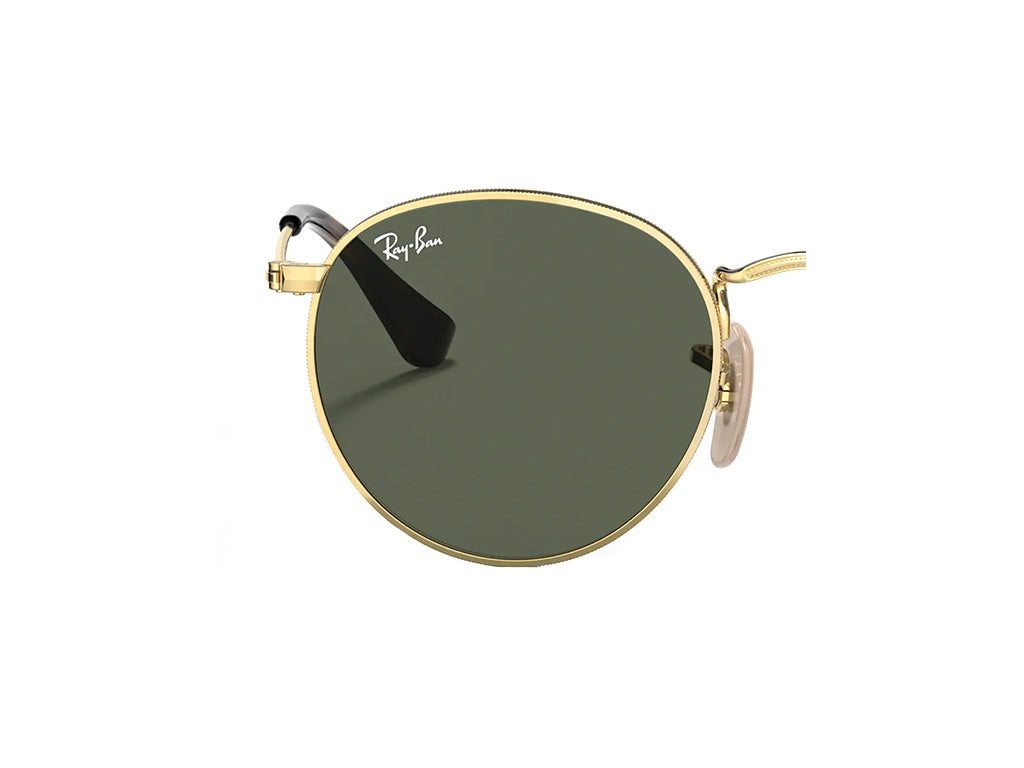
 ROUND
 SQUARED
 VISOR









Purchase and replacement guide
REPLACEMENT LENSES
Are the lenses of your glasses scratched, damaged or no longer usable, while the frame is still in good condition? In many cases, you can replace only the lenses and keep the original frame.
In this guide, you will find the main information needed to identify the correct lens, check compatibility and replace it. Before starting, we recommend watching our video tutorial on fitting replacement lenses.
How to choose the correct replacement lens
The shape of the lens alone is not enough to determine compatibility. Each frame is designed to accommodate lenses with a specific shape, size and profile.
Before purchasing:
- Identify the model code, normally printed on the inside of the temple or on the original eyewear packaging.
- Check the lens size, i.e. the width of the lens in millimetres. The replacement lens size must match the one required for your frame.
- Check the lens variant, including colour, finish and any specific features.
- Always check the compatibility stated on the product page before purchasing.
A lens that looks similar but is intended for a different model or lens size may not fit the frame correctly.
If you are unsure about the model or size, compare the information and images on the product page or contact our Customer Service before purchasing.
Compatibility, materials and features
Replacement lenses may differ in material, colour and treatment depending on the model.
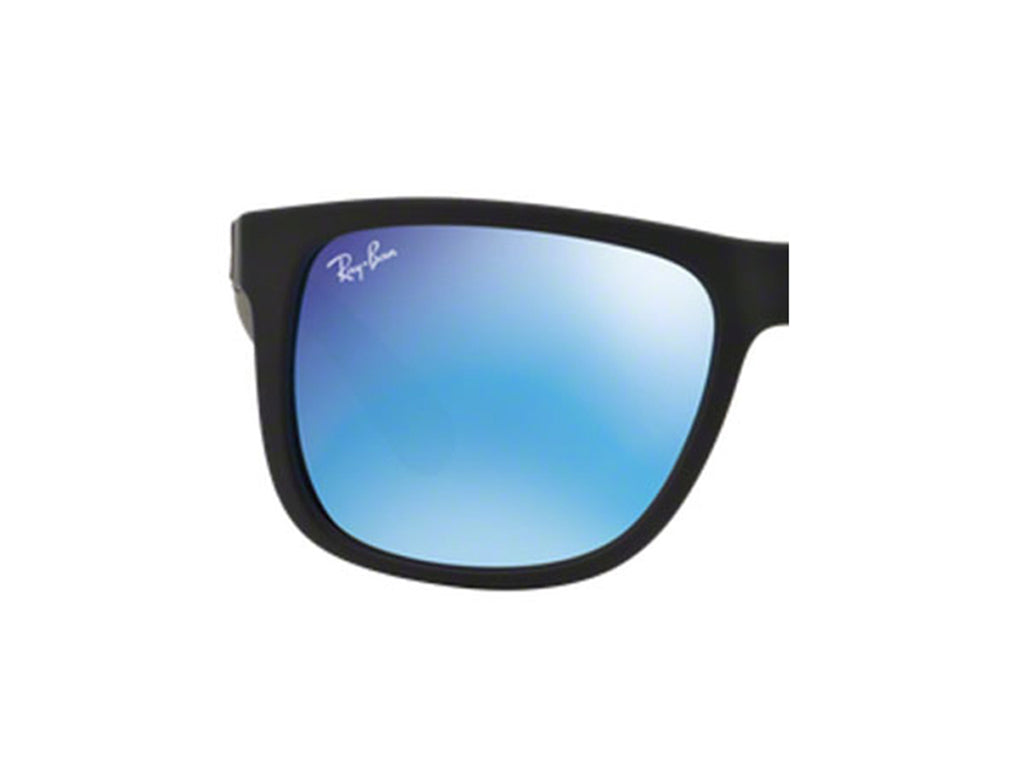
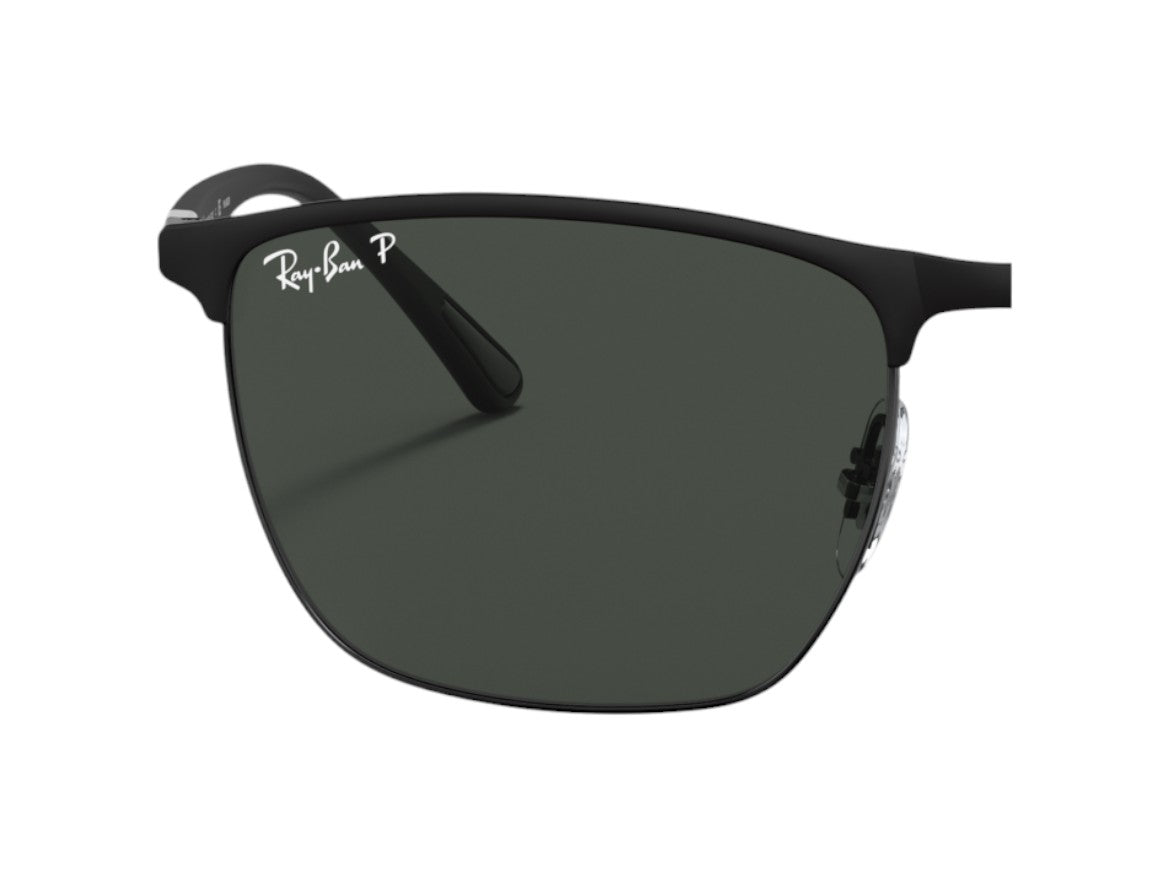
In our catalogue, for example, you can find standard, polarised, mirrored lenses or lenses with other specific features provided by the manufacturer.
The product page indicates the model and any compatible variants. We therefore recommend always checking this information before purchasing rather than relying solely on the appearance of the lens.
How to replace replacement lenses
The replacement method depends on the structure of the frame.
Before proceeding, watch our video tutorial, which shows you how to install the lenses correctly.
Acetate or plastic frames
Depending on the model, the lenses may be press-fitted into the frame.
A tip before you start: if your frame is made of acetate, gently warming it can help make the material more flexible and make it easier to remove and insert the lenses. You can use a hairdryer on a low heat setting, keeping it at a safe distance and moving it continuously to avoid concentrating heat in one spot. Alternatively, for compatible models, you can briefly immerse the front of the frame in warm water, never boiling water.
Important! Not all plastic frames can be heated. Avoid high temperatures and stop if the material resists.
- Carefully remove the lens you want to replace, applying gentle, controlled pressure in the direction allowed by the frame's construction.
- Position the new lens, following the shape of its groove.
- Gradually insert the lens without forcing it, making sure the edge is correctly seated around the entire perimeter.
Metal frames
On some frames, the rim holding the lens in place is secured by a small screw.
- Locate the screw that closes the rim.
- Gently loosen it using a precision screwdriver.
- Remove the lens you want to replace.
- Insert the new lens into its groove.
- Close the rim and carefully tighten the screw without applying excessive force.
If your model requires a screwdriver and you don't have the right tools, you can also find an eyeglass repair kit with precision screwdrivers on Vistaexpert.
When installing the lenses, avoid forcing the lens or frame. If the lens does not fit correctly into its groove, double-check the model and lens size before proceeding.
Replacement lenses